Car scratch repair pens offer a quick and easy fix for minor scratches on your vehicle’s paintwork. They’re a cost-effective alternative to professional repairs, perfect for concealing light scratches and swirl marks. This guide will provide a comprehensive overview of how to use a car scratch repair pen, ensuring you achieve the best possible results.
Understanding Car Scratch Repair Pens
Before diving into the application process, it’s crucial to understand what car scratch repair pens are and how they work. These pens contain a clear resin that fills in minor scratches, leveling the surface and making them less visible. They are not a permanent fix for deep scratches or dents but are highly effective for superficial damage. Choosing the right shade is vital for a seamless repair, so match the pen color to your car’s paint code.
Preparing Your Car for Scratch Repair
Proper preparation is key to achieving a professional-looking finish. First, thoroughly wash and dry the scratched area to remove any dirt, debris, or wax. Next, use rubbing alcohol or a dedicated paint cleaner to degrease the surface, ensuring optimal adhesion of the repair resin. For deeper scratches, you might need to lightly sand the area with fine-grit sandpaper before applying the pen.
Step-by-Step Guide on Using a Car Scratch Repair Pen
- Clean the area: Thoroughly clean the scratch and surrounding area with soap and water, followed by a degreaser.
- Shake the pen: Shake the car scratch repair pen vigorously for the duration recommended on the product instructions. This mixes the resin thoroughly, ensuring consistent application.
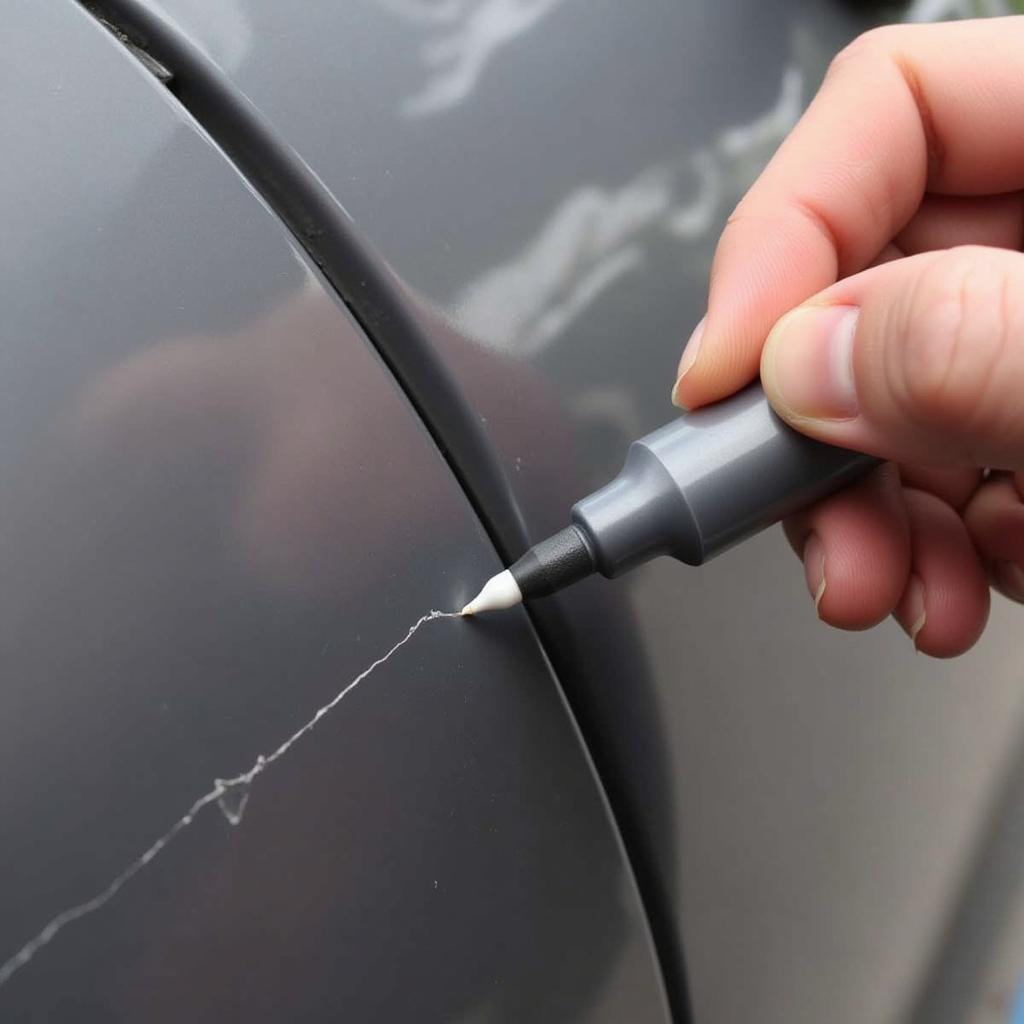
- Apply the resin: Gently press the pen tip onto the scratch, allowing the resin to flow into the crevice. Apply thin, even coats, avoiding excess buildup.
- Level the surface: Use a clean microfiber cloth or a plastic applicator to gently level the resin, removing any excess and ensuring a smooth finish.
- Allow to dry: Let the resin dry completely according to the manufacturer’s instructions. This typically takes a few minutes.
- Buff if necessary: For a polished look, lightly buff the repaired area with a microfiber cloth after the resin has dried.
 Applying Car Scratch Repair Pen Correctly
Tips for Achieving Professional Results
For best results, apply the car scratch repair pen in a shaded area and avoid working in direct sunlight or extreme temperatures. Multiple thin coats are preferable to one thick coat, preventing runs and ensuring even coverage. If the scratch is still visible after the first application, allow the resin to dry completely before applying another thin coat. Remember patience is key when achieving a seamless repair.
Choosing the Right Car Scratch Repair Pen
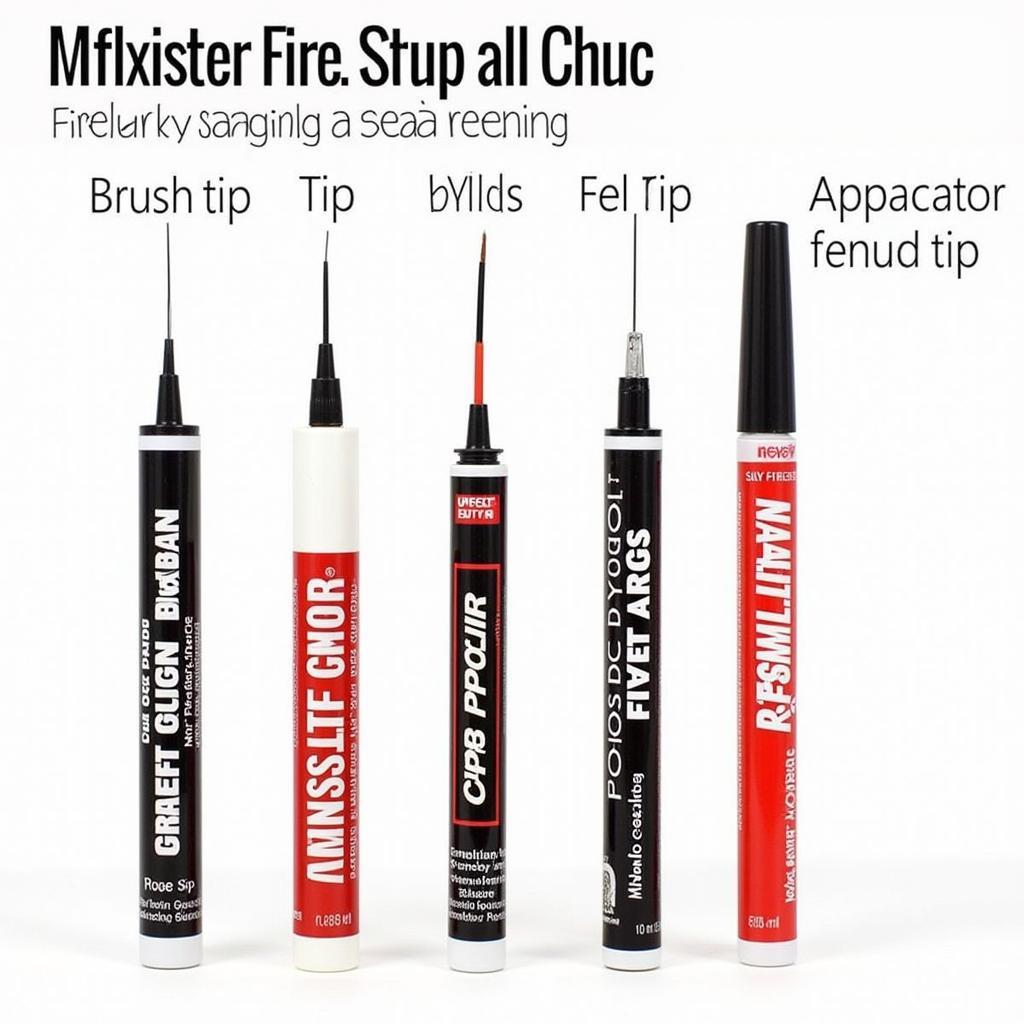
With various brands and types available, selecting the right car scratch repair pen can feel overwhelming. Consider factors like the scratch’s depth, your car’s paint color, and the pen’s applicator type. Some pens feature a brush applicator, while others utilize a precision tip for finer control. Reading online reviews and comparing different products can help you make an informed decision.
 Variety of Car Scratch Repair Pens and Applicators
When to Seek Professional Help
While car scratch repair pens are effective for minor scratches, deeper damage requires professional attention. If the scratch exposes the primer or metal underneath, a DIY fix won’t suffice. In such cases, consulting a professional auto body repair shop is recommended for optimal results. Ignoring deep scratches can lead to rust and further damage, so timely professional intervention is essential.
“For deep scratches that penetrate the clear coat, a touch-up paint pen followed by clear coat application and professional polishing is usually the best approach,” advises John Miller, Senior Auto Body Technician at Miller’s Auto Repair.
Conclusion
Learning how to use a car scratch repair pen is a valuable skill for any car owner. It provides a cost-effective and convenient way to address minor paint imperfections, keeping your vehicle looking its best. Remember to choose the right pen, prepare the surface properly, and apply the resin with care. While these pens are not a substitute for professional repairs for significant damage, they are an excellent solution for concealing light scratches and maintaining your car’s appearance.
“Regular waxing and proper car washing techniques can minimize the risk of future scratches,” adds Maria Sanchez, Automotive Paint Specialist at ColorMatch Pro. “Prevention is always better than cure!”
FAQ
- How long does the repair last? The longevity of the repair depends on several factors, including the quality of the pen, the depth of the scratch, and environmental conditions.
- Can I use a car scratch repair pen on any car color? Yes, but ensure you choose a pen that closely matches your car’s paint code.
- What should I do if the scratch is still visible after using the pen? You might need to apply additional thin coats or consider professional repair for deeper scratches.
- Can I use a car scratch repair pen on plastic bumpers? Some pens are formulated for plastic surfaces; check the product instructions for compatibility.
- How long does it take for the resin to dry? Drying time varies depending on the product and environmental conditions but typically takes a few minutes.
- Can I wash my car after applying the repair pen? Yes, after the resin has dried completely according to the manufacturer’s instructions.
- Where can I find my car’s paint code? The paint code is usually located on a sticker inside the driver’s side door jamb, glove compartment, or under the hood.
Need More Help?
For personalized advice and assistance with car scratch repair or any other auto service needs, contact us via WhatsApp: +1(641)206-8880, or Email: cardiagtechworkshop@gmail.com. Our 24/7 customer support team is ready to help.


