A malfunctioning car stereo can be a major annoyance. Whether it’s distorted sound, a complete blackout, or intermittent cutting out, a broken car stereo can seriously detract from your driving experience. While the thought of repairing it yourself might seem daunting, some issues can be tackled with a bit of guidance and some basic tools. This comprehensive guide will walk you through the common car stereo problems, how to diagnose them, and potential solutions to get your tunes pumping again.
Common Car Stereo Problems and Their Causes
Before diving into repairs, it’s crucial to pinpoint the root cause of your car stereo woes. Here are some common culprits:
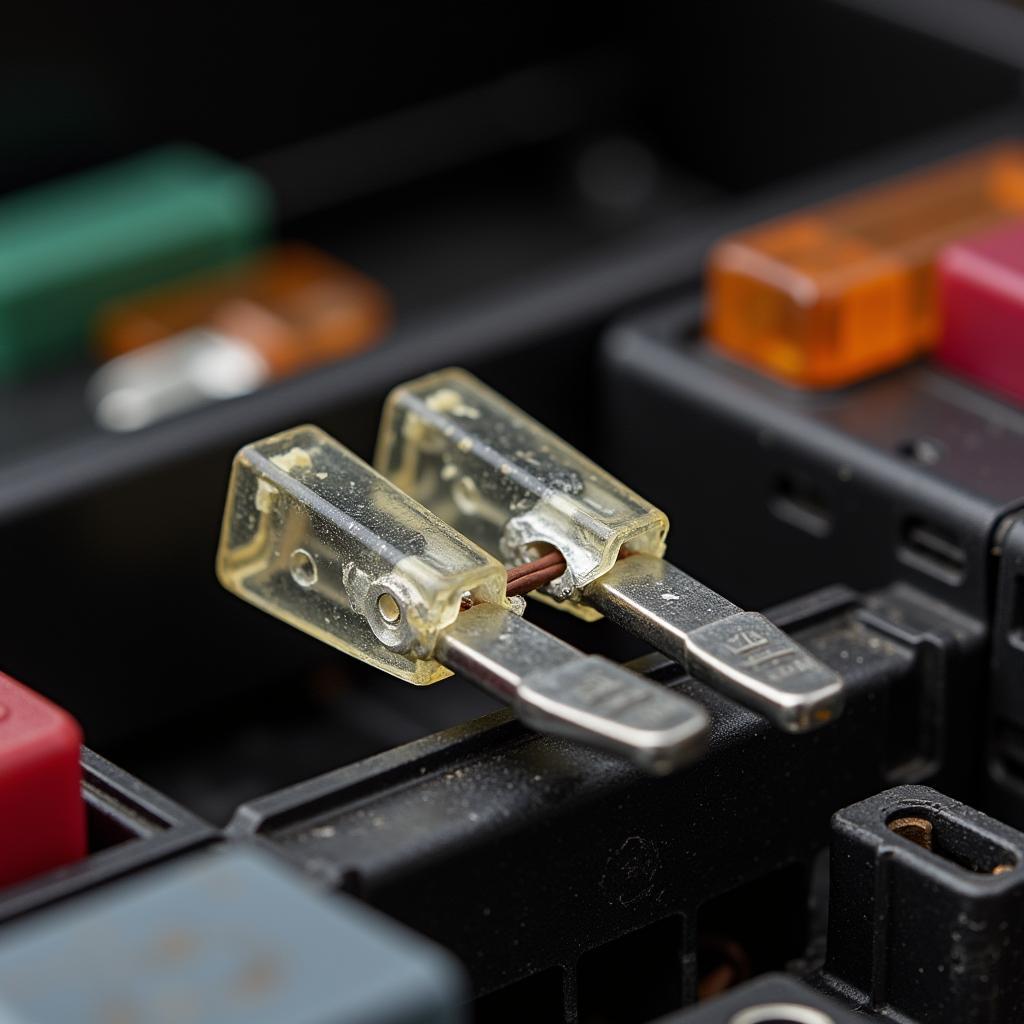
- Blown Fuse: One of the simplest and most common issues is a blown fuse. A sudden surge in electrical current can cause the fuse protecting your car stereo to blow, leading to a complete loss of power.
- Wiring Issues: Loose or damaged wiring is another common culprit, often caused by improper installation or wear and tear. This can lead to intermittent sound, static, or complete power loss.
- Speaker Problems: A blown-out speaker can result in distorted audio or no sound from a particular speaker. This often happens due to prolonged exposure to high volume or physical damage to the speaker cone.
- Antenna Problems: If you’re experiencing poor radio reception, a damaged or poorly connected antenna could be the culprit.
- Head Unit Malfunction: The head unit is the brain of your car stereo system. If the problem isn’t with the speakers, wiring, or antenna, the head unit itself might be faulty.
 Blown Car Stereo Fuse
Diagnosing the Problem
Accurately diagnosing the problem is key to a successful repair. Here’s a step-by-step approach:
- Check the Fuse: Locate your car’s fuse box (check your owner’s manual) and identify the fuse associated with the car stereo. Inspect the fuse for any visible breaks or discoloration.
- Inspect the Wiring: Carefully examine the wiring harness behind the stereo for any loose connections, frayed wires, or signs of damage.
- Test the Speakers: If you suspect a speaker issue, try fading the audio to each speaker individually to see if any are blown out or producing distorted sound.
- Inspect the Antenna: Make sure your antenna mast is fully extended and undamaged. Check the antenna cable connection at the back of the stereo for any looseness or damage.
Car Stereo Repair: DIY Solutions
Once you’ve identified the problem, you can attempt some DIY repairs:
- Replacing a Blown Fuse: This is a simple fix. Just locate the blown fuse, remove it with a fuse puller (usually found in the fuse box cover), and replace it with a new fuse of the same amperage.
- Fixing Wiring Issues: For loose connections, simply unplug and reconnect the wiring harnesses. If you discover any damaged wires, you can try repairing them with electrical tape or, ideally, replace the damaged section with new wiring.
- Replacing Speakers: Replacing a blown speaker involves removing the door panel or dashboard component where the speaker is located, disconnecting the old speaker, and installing a new one.
When to Seek Professional Help
While some car stereo issues are straightforward to fix, more complex problems might require professional expertise. If you’re uncomfortable working with electrical components or the DIY solutions haven’t resolved the issue, it’s best to consult a qualified car audio technician.
Conclusion
Troubleshooting and repairing your car stereo doesn’t always require a trip to the mechanic. By understanding the common problems and following the diagnostic steps outlined above, you can potentially fix minor issues yourself and save some money. However, remember to prioritize safety and seek professional help when needed, ensuring your car stereo provides the soundtrack to your journeys for years to come.

Leave a Reply