A damaged car bonnet not only affects your vehicle’s aesthetics but can also compromise safety and performance. While seeking professional help is recommended, understanding how to repair a car bonnet yourself can be beneficial for minor damages. This guide provides a step-by-step approach to car bonnet repair, empowering you with the knowledge to tackle those dents and dings.
Assessing the Damage: Know Your Bonnet
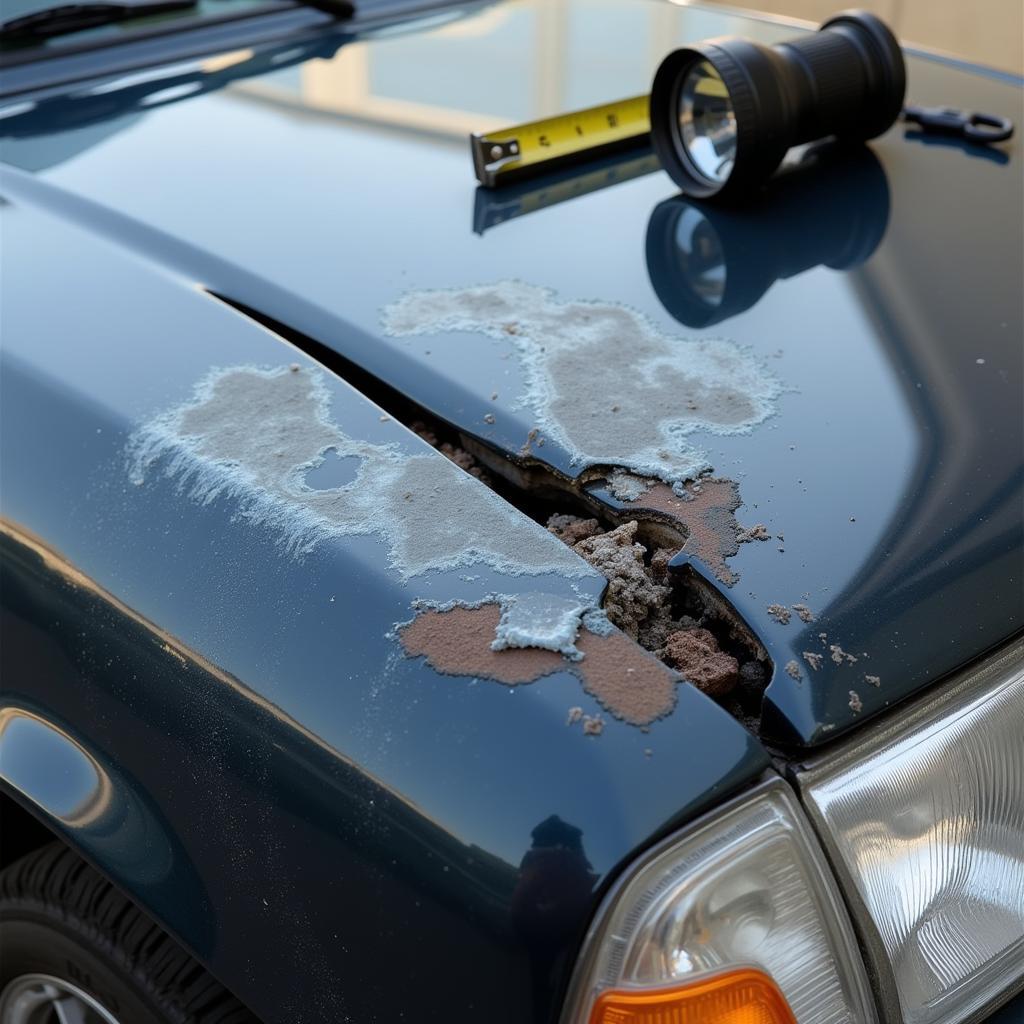
Before diving into repairs, thoroughly inspect the bonnet for the extent of the damage.
- Minor dents: These can often be repaired using DIY techniques like paintless dent repair (PDR) or basic filler applications.
- Deep dents, creases, or rust: These might require professional intervention for optimal results.
- Damage to the structural integrity: This necessitates immediate professional attention to ensure safety.
 Assessing Car Bonnet Damage
Gathering Your Tools and Materials
Based on the damage assessment, gather the necessary tools and materials. For minor repairs, you’ll typically need:
- Cleaning supplies: Soap, water, microfiber cloth
- Sandpaper: Variety of grits (e.g., 200, 400, 600)
- Body filler (if necessary): For filling dents and scratches
- Putty knife: For applying and smoothing body filler
- Primer: For preparing the surface for painting
- Automotive paint: Matching your car’s color
- Clear coat: For protection and shine
- Masking tape and paper: For protecting surrounding areas
- Safety equipment: Gloves, mask, safety glasses
Step-by-Step Guide to Car Bonnet Repair
1. Preparation is Key: Thoroughly clean the damaged area with soap and water, ensuring it’s free from dirt and grease.
2. Sanding for Smoothness: Use progressively finer grit sandpaper to smooth out any imperfections like rust or chipped paint. Start with a coarser grit and gradually move to a finer one.
3. Filling the Gaps (if necessary): If the dent is substantial, apply body filler using a putty knife, spreading it evenly and slightly overlapping the surrounding area. Allow it to dry completely.
4. Sanding Again: Once dry, sand the filler smooth, blending it seamlessly with the surrounding surface.
5. Priming for Paint: Apply a primer evenly over the repaired area, creating a smooth base for the paint to adhere to. Let it dry thoroughly.
6. Painting Time: Using multiple thin coats, apply automotive paint that matches your car’s color. Allow each coat to dry before applying the next.
7. Sealing the Deal: Apply a clear coat evenly over the painted area for a glossy finish and added protection.
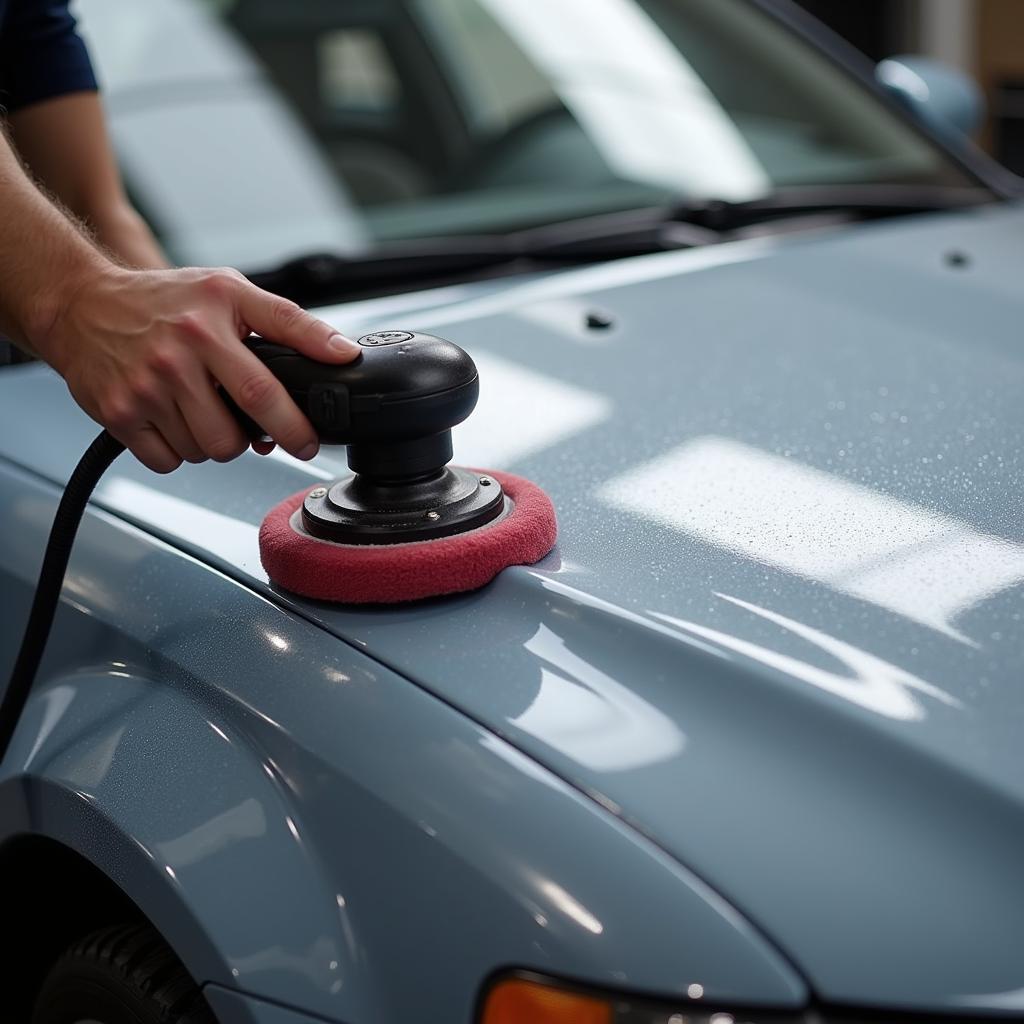
8. Finishing Touches: After the clear coat dries, use a polishing compound to buff out any imperfections and achieve a professional-looking shine.
 Polishing Repaired Car Bonnet
Seeking Professional Help
While DIY repairs can address minor damages, remember that professional expertise is crucial for more complex repairs, especially those involving structural damage or requiring specialized tools and techniques.
Conclusion
Repairing a car bonnet requires patience, attention to detail, and the right approach. By following these steps, you can restore your car’s appearance and potentially save on expensive repairs. However, remember to prioritize safety and seek professional help when needed, ensuring your car is both aesthetically pleasing and safe to drive.


