Finding scratches on your prized toy car can be disheartening, but fear not! Repairing them is often easier than it seems. Whether your little one took their toy car for an off-road adventure or it simply succumbed to the wear and tear of playtime, this guide will provide you with effective solutions to restore its former glory.
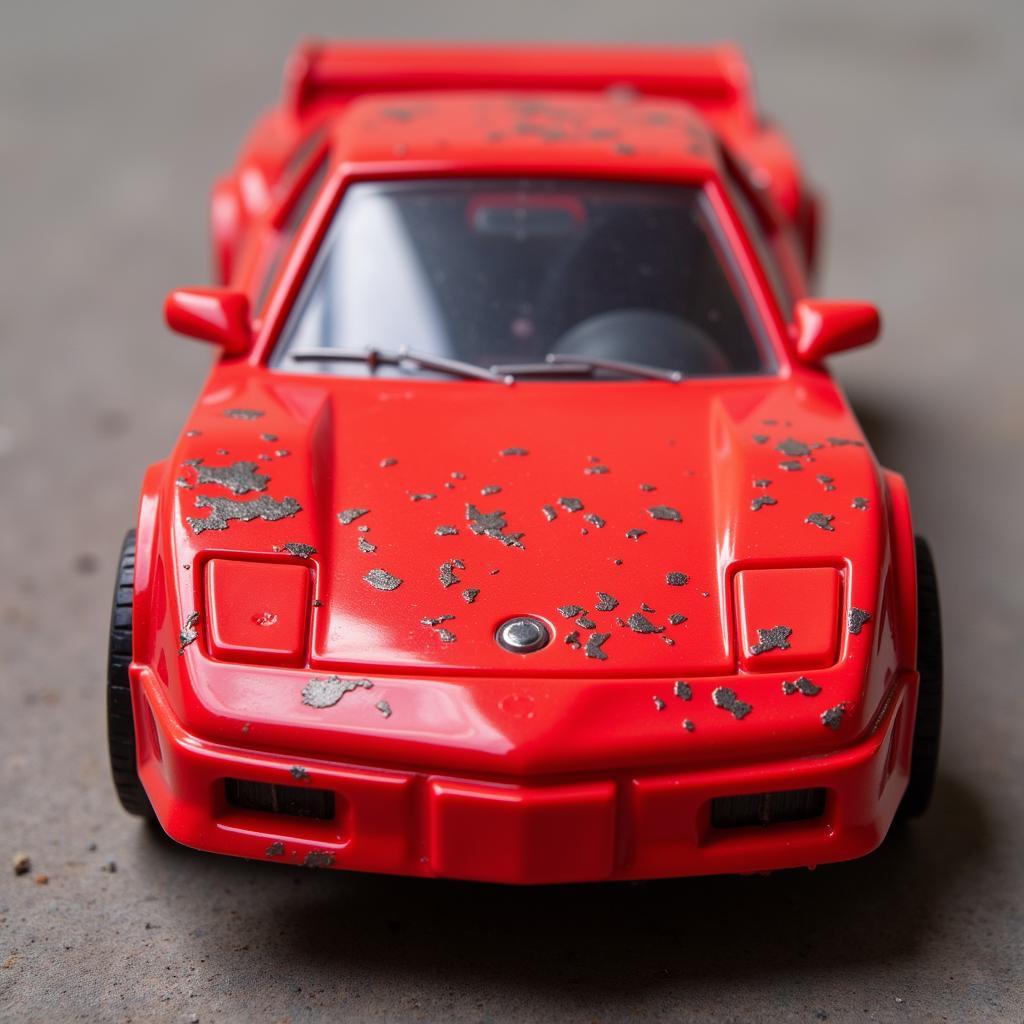
 Toy car with visible scratches
Assessing the Damage: Types of Scratches
Before diving into the repair process, it’s crucial to assess the severity of the scratches. This will help determine the most appropriate method for restoration.
- Light Scratches: These are superficial marks that appear as fine lines on the surface. They haven’t penetrated the paint deeply and can often be buffed out with minimal effort.
- Deep Scratches: These are more noticeable grooves that have cut through the paint layer, potentially exposing the plastic or metal underneath. They require more attention and may involve filling and repainting.
Repairing Light Scratches
For light scratches, these simple methods can work wonders:
- Soap and Water Wash: Begin by gently washing the toy car with warm soapy water to remove any dirt or grime that might interfere with the repair.
- Baking Soda Paste: Create a paste using baking soda and water. Gently rub it onto the scratch in a circular motion using a soft cloth. This mild abrasive can help polish away superficial marks.
- Toothpaste: Non-gel white toothpaste can act as a gentle polish. Apply a small amount to a clean cloth and rub it over the scratch.
Tackling Deep Scratches
Deep scratches require a more involved approach:
- Sanding: If the scratch is deep enough to expose the underlying material, start by lightly sanding the area with fine-grit sandpaper. This will create a smooth surface for the filler to adhere to.
- Filling: Use a plastic filler or modeling putty specifically designed for plastics or metals, depending on your toy car’s material. Apply a thin layer to fill the scratch, ensuring it’s level with the surrounding surface. Allow it to dry completely.
- Sanding and Smoothing: Once dry, gently sand the filled area to blend it seamlessly with the surrounding surface. Use progressively finer grits of sandpaper for a smooth finish.
- Repainting (If Necessary): If the scratch has removed a significant amount of paint, you might need to repaint the affected area. Use model paint that matches your toy car’s original color. Apply thin coats, allowing each layer to dry thoroughly before applying the next.
Preventing Future Scratches
Once your toy car is restored, consider these tips to minimize future damage:
- Play Surface: Encourage play on soft surfaces like carpets or rugs, which are more forgiving than hard floors.
- Storage: Store toy cars in a designated container or bin to prevent them from being scratched by other toys.
- Gentle Handling: Remind children to handle their toy cars with care.
Conclusion
Repairing scratches on a toy car can be a rewarding experience, allowing you to bring a beloved toy back to life. By following these techniques and using the right materials, you can easily erase the signs of playtime adventures and keep those little vehicles looking their best.

