How To Repair Paint Chips On Your Car is a common question among car owners. Minor paint damage, from stone chips to small scratches, can be unsightly and, if left untreated, can lead to rust and further damage. Fortunately, addressing these issues often doesn’t require a costly trip to a professional body shop. With the right tools and a little patience, you can effectively repair paint chips on your car yourself. This comprehensive guide will walk you through the process, offering tips and tricks for a professional-looking finish.
Repairing paint chips can seem daunting, but it’s a manageable DIY project. Understanding the different types of chips and the appropriate repair methods is crucial. From assessing the damage to selecting the right paint and applying the final touches, this guide covers everything you need to know to restore your car’s paint to its former glory. For a deeper understanding of car paint repair in general, check out our guide on how to repair car paint.
Assessing the Damage: Types of Paint Chips
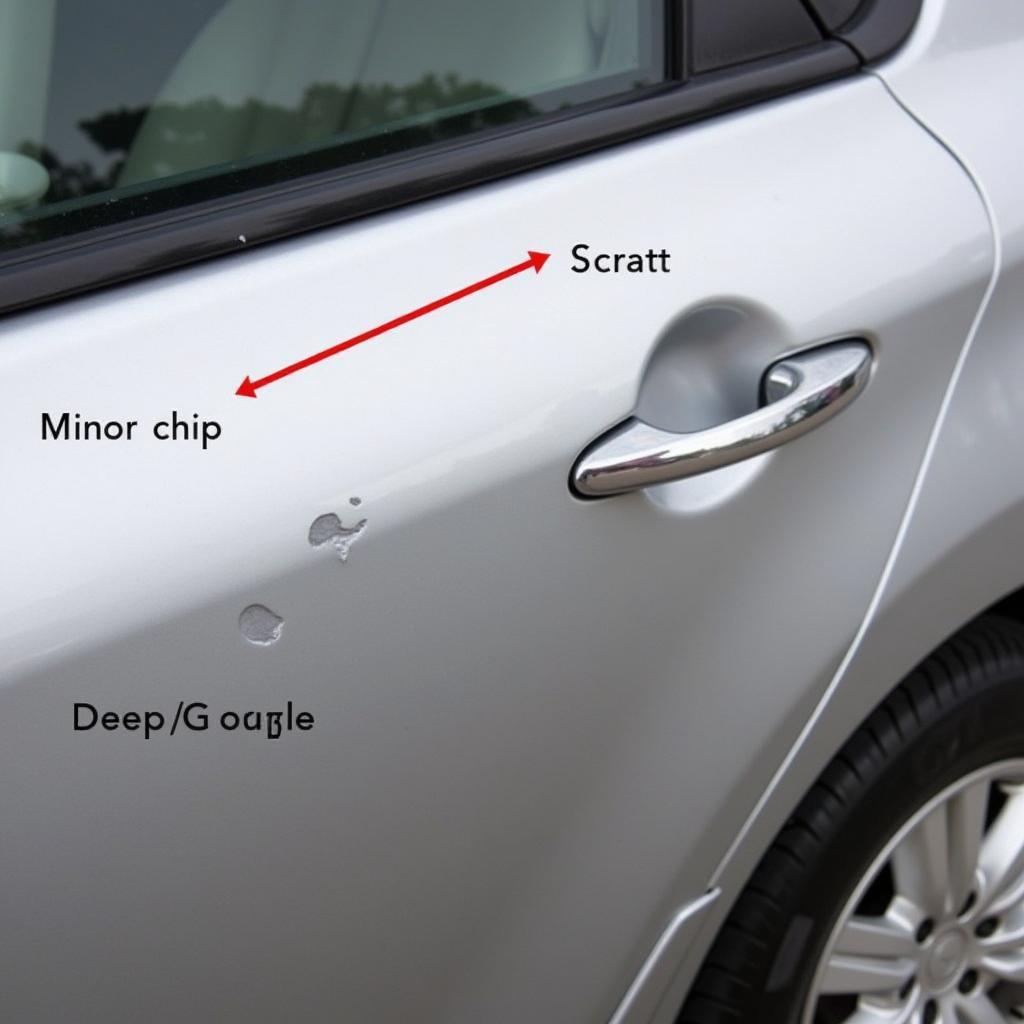
The first step in repairing a paint chip is identifying the severity of the damage. Generally, paint chips are categorized into three types:
- Chip: This is a small piece of paint missing, exposing the primer or bare metal underneath.
- Scratch: A superficial mark on the clear coat or paint layer, not reaching the primer.
- Gouge: A deep scratch that penetrates through the primer and exposes the underlying metal.
Knowing the type of damage dictates the repair process. For minor chips and scratches, a touch-up paint pen or kit may suffice. Deeper gouges may require sanding, priming, and more extensive repair work, potentially similar to repairing car body damage. The cost can also vary depending on the severity; you can find more information on our guide on how much to repair body of car.
 Assessing Paint Chip Damage on a Car
Gathering Your Supplies: Tools for the Job
Before you begin the repair process, gather the necessary tools and materials. This ensures a smooth and efficient workflow. You’ll need the following:
- Touch-up paint: Ensure it matches your car’s paint code.
- Primer (if needed): For deeper chips that expose bare metal.
- Applicator: A fine-tipped brush or touch-up pen.
- Sandpaper (various grits): For smoothing and blending.
- Rubbing compound: For polishing and removing imperfections.
- Wax and sealant: To protect the repaired area.
- Cleaning solution: Isopropyl alcohol or a dedicated car cleaning solution.
- Microfiber cloths: For cleaning and polishing.
Having the correct supplies is essential for achieving a professional result. Using the wrong type of paint or applicator can lead to a mismatched finish. Investing in quality materials will ultimately save you time and frustration.
Step-by-Step Guide: How to Repair Paint Chips
Once you have gathered your supplies, you can begin the repair process. Follow these steps for a successful repair:
- Clean the area: Thoroughly clean the chipped area with a cleaning solution and a microfiber cloth. This removes any dirt or debris that could interfere with the paint adhesion.
- Sand if necessary: If the chip is deep, lightly sand the area with fine-grit sandpaper to create a smooth surface. Be careful not to sand through surrounding paint.
- Apply primer (if needed): If bare metal is exposed, apply a thin layer of primer to the chipped area. Let it dry completely.
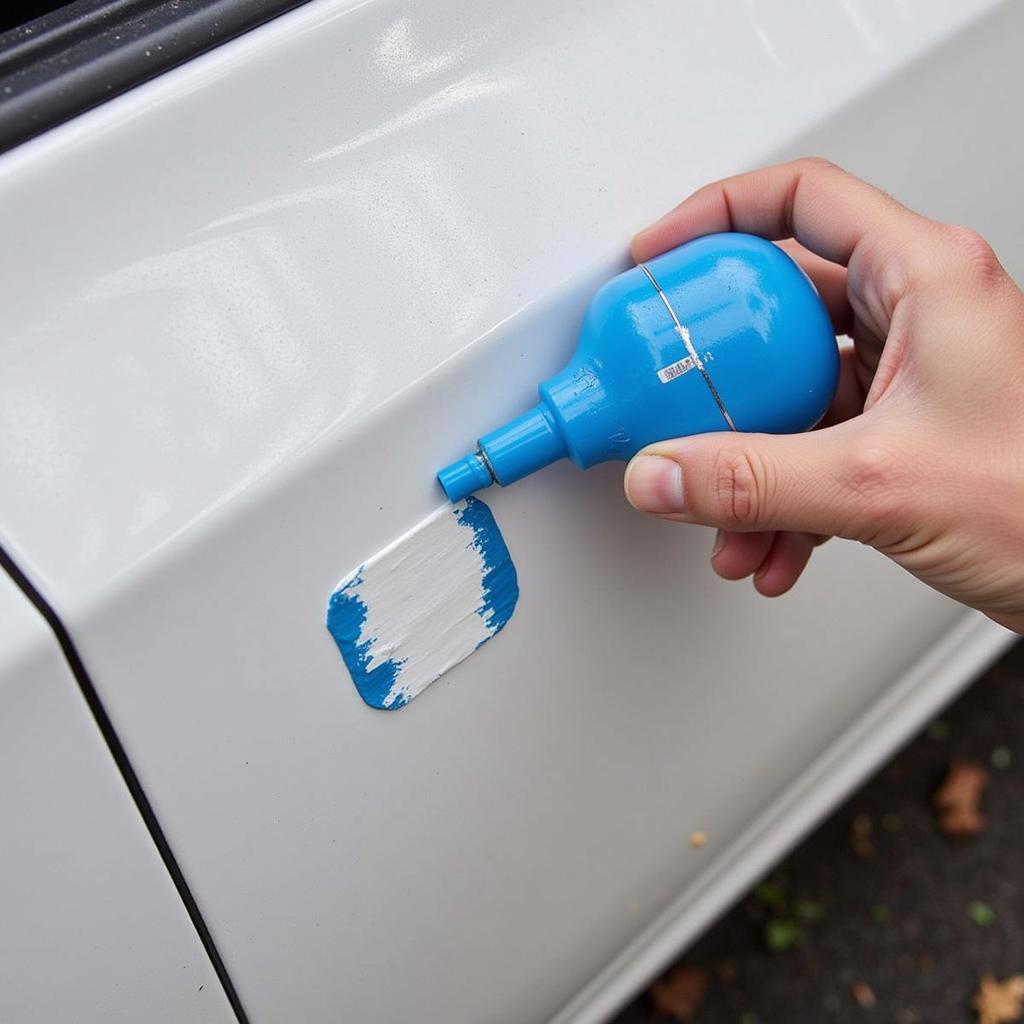
- Apply touch-up paint: Using a fine-tipped brush or touch-up pen, carefully apply the touch-up paint to the chipped area. Build up thin layers, allowing each layer to dry before applying the next.
- Sand and blend: Once the paint is dry, lightly sand the area with fine-grit sandpaper to blend the repair with the surrounding paint.
- Polish and wax: Use rubbing compound to polish the repaired area and remove any imperfections. Follow up with a coat of wax and sealant to protect the repair and restore the shine.
If you’re looking for tips on repairing silver paint specifically, our guide on how to repair silver paint of the car offers specific advice.
 Applying Touch-Up Paint to Car Chip
Maintaining Your Car’s Paint: Preventing Future Chips
Preventing future paint chips is just as important as repairing existing ones. Here are a few preventative measures:
- Regular washing and waxing: This helps protect the paint from environmental factors.
- Parking carefully: Avoid parking in areas prone to debris or rock chips.
- Using paint protection film: This clear film can protect vulnerable areas from chips and scratches.
Preventing paint chips can save you time and money in the long run. By taking preventative measures, you can maintain the appearance and value of your vehicle. For additional information on scratch repair, you might find our resource on how to repair car scratches on Quora helpful.
Conclusion: Repairing Paint Chips for a Pristine Finish
Repairing paint chips on your car is a manageable DIY project that can significantly improve your car’s appearance. By following the steps outlined in this guide, you can achieve a professional-looking repair and restore your car’s paint to its former glory. Remember to choose the right tools and materials, and be patient throughout the process. Regular maintenance and preventative measures can help minimize future paint chips, keeping your car looking its best. how to repair paint chips on your car requires patience and the right technique, but the results are well worth the effort.
FAQs
- Can I use nail polish to repair a paint chip? No, nail polish is not formulated for automotive paint and will not match or adhere properly.
- How long does touch-up paint take to dry? Drying times vary, but generally, allow at least 30 minutes between coats.
- What if the chip is very deep? For deep chips or gouges, it’s best to consult a professional body shop.
- Do I need to apply clear coat after touch-up paint? Some touch-up paints include a clear coat, but if not, applying a separate clear coat can enhance the repair.
- Where can I find my car’s paint code? The paint code is usually located on a sticker inside the driver’s side doorjamb or in the owner’s manual.
Common Scenarios and Questions
Scenario: A small stone chip on the hood.
Question: Can I repair this myself? Yes, small chips on the hood are often easily repairable with a touch-up paint pen.
Scenario: A deep scratch on the door that exposes metal.
Question: Should I contact a professional? Yes, deep scratches that expose metal require more extensive repair work and are best handled by a professional.
Further Reading and Resources
For more information on related topics, you can visit our guides on how to repair car body damage.
Need Assistance? Contact Us!
If you need professional help or have questions about repairing your car’s paint, our team is here to assist you 24/7. Contact us via WhatsApp: +1(641)206-8880 or Email: [email protected].

Leave a Reply