Fixing minor car dents with Bondo is a popular DIY solution. This guide provides a comprehensive, step-by-step approach to using Bondo effectively, transforming your car’s appearance without breaking the bank. From preparation to sanding and finishing, we’ll cover everything you need to know to achieve professional-looking results.
Understanding Bondo and its Applications
Bondo, a brand name for body filler, is a two-part polyester resin used to repair dents, dings, and rust holes in car bodies. It’s essential to understand that Bondo isn’t a magic fix-all. It works best on relatively small, shallow dents and shouldn’t be used on structural damage. Think of it as a cosmetic fix, not a structural repair. For deeper or more complex damage, consulting a professional auto body repair shop is always recommended.
Gathering Your Supplies
Before starting the repair, assemble your tools and materials. This includes Bondo body filler, hardener, a spreader, sandpaper (various grits), masking tape, plastic sheeting, safety glasses, gloves, and a sanding block. Having everything at hand will streamline the process and ensure a smoother workflow. Don’t skimp on quality; investing in good materials will yield better results.
Preparing the Damaged Area
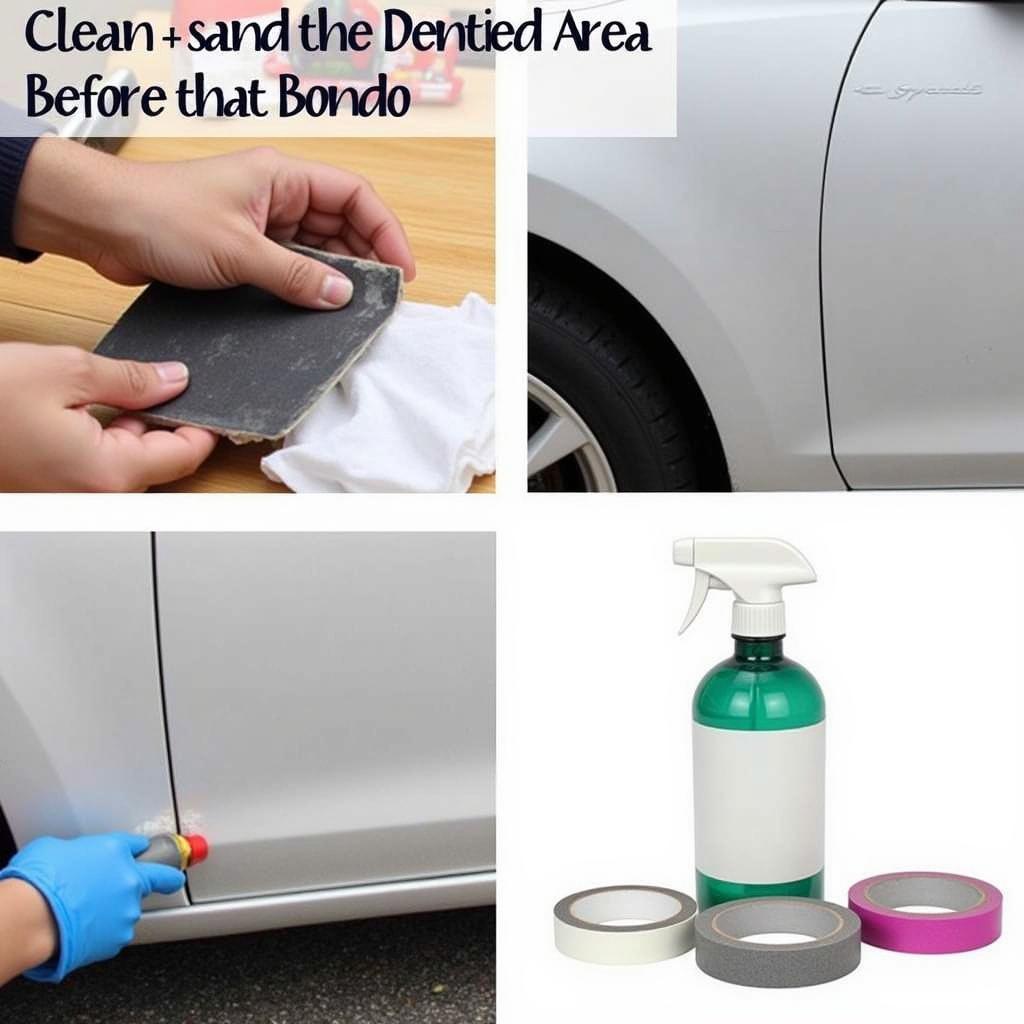
Proper preparation is crucial for a successful Bondo repair. Thoroughly clean the dented area with soap and water, then dry it completely. Next, sand the area around the dent with coarse grit sandpaper to remove any loose paint or rust. This creates a rough surface for the Bondo to adhere to. Mask off the surrounding area with masking tape and plastic sheeting to protect it from overspray and sanding dust.
 Preparing the Dented Area for Bondo Application
Mixing and Applying the Bondo
Follow the manufacturer’s instructions precisely when mixing the Bondo and hardener. Too much or too little hardener can affect the drying time and the final result. Mix small amounts at a time, as Bondo sets quickly. Apply the mixture to the dented area with the spreader, using firm, even strokes. Overlap each stroke slightly to ensure complete coverage and build up the filler slightly above the surrounding surface.
Sanding and Shaping the Bondo
Once the Bondo has cured completely, it’s time to shape and smooth the repaired area. Start with coarse grit sandpaper and gradually move to finer grits. Use a sanding block to ensure even pressure and prevent uneven sanding. Regularly check your progress by running your hand over the area to feel for any high or low spots. Patience is key here; rushing the sanding process can lead to imperfections.
Priming and Painting
After achieving a smooth and even surface, apply a thin coat of primer to the repaired area. This will help the paint adhere properly and create a uniform finish. Once the primer is dry, you can paint the area, blending the new paint with the existing paint to achieve a seamless look.
Finishing Touches
After the paint has dried completely, you can apply a clear coat to protect the paint and add a glossy finish. Inspect the repaired area for any imperfections and address them as needed.
Conclusion
Repairing a dent in your car with Bondo can be a cost-effective and rewarding DIY project. By following these steps and exercising patience, you can achieve professional-looking results and restore your car’s appearance. Remember, proper preparation and attention to detail are crucial for success. How To Repair Dent In Car With Bondo requires careful consideration and execution.
FAQ
- How long does Bondo take to dry?
- Can I use Bondo on plastic bumpers?
- What grit sandpaper should I use for sanding Bondo?
- How do I prevent air bubbles in the Bondo?
- How much Bondo do I need for a small dent?
- Can I paint directly over Bondo?
- How do I prevent the Bondo from cracking?
Need support? Contact us via WhatsApp: +1(641)206-8880, Email: [email protected]. We have a 24/7 customer support team.

Leave a Reply