Repairing a car’s front bumper can seem daunting, but with the right guidance and a bit of patience, it’s often a manageable DIY project. This guide will walk you through the process of assessing the damage, choosing the right repair method, and executing the repair effectively. We’ll cover everything from minor scratches to more significant dents and cracks, empowering you to restore your bumper to its former glory.
Assessing the Damage: The First Step in Front Bumper Repair
Before diving into the repair process, it’s crucial to thoroughly assess the damage to your front bumper. This involves identifying the type of damage (scratches, dents, cracks, etc.), the material of the bumper (plastic, fiberglass, metal), and the extent of the damage. This assessment will dictate the appropriate repair method and the necessary tools and materials. For example, if you need to transport your car to a professional for extensive damage, you might consider which vehicle helps to move repair car. A proper assessment will save you time, effort, and potentially money in the long run.
Knowing how much to repair body of car can also help you make an informed decision on whether to do the repair yourself or leave it to a professional. Minor scratches and scuffs often require simple cleaning and touch-up paint, while deeper scratches may need sanding and filling. Dents can often be repaired using heat and specialized tools, whereas cracks often necessitate patching or replacement.
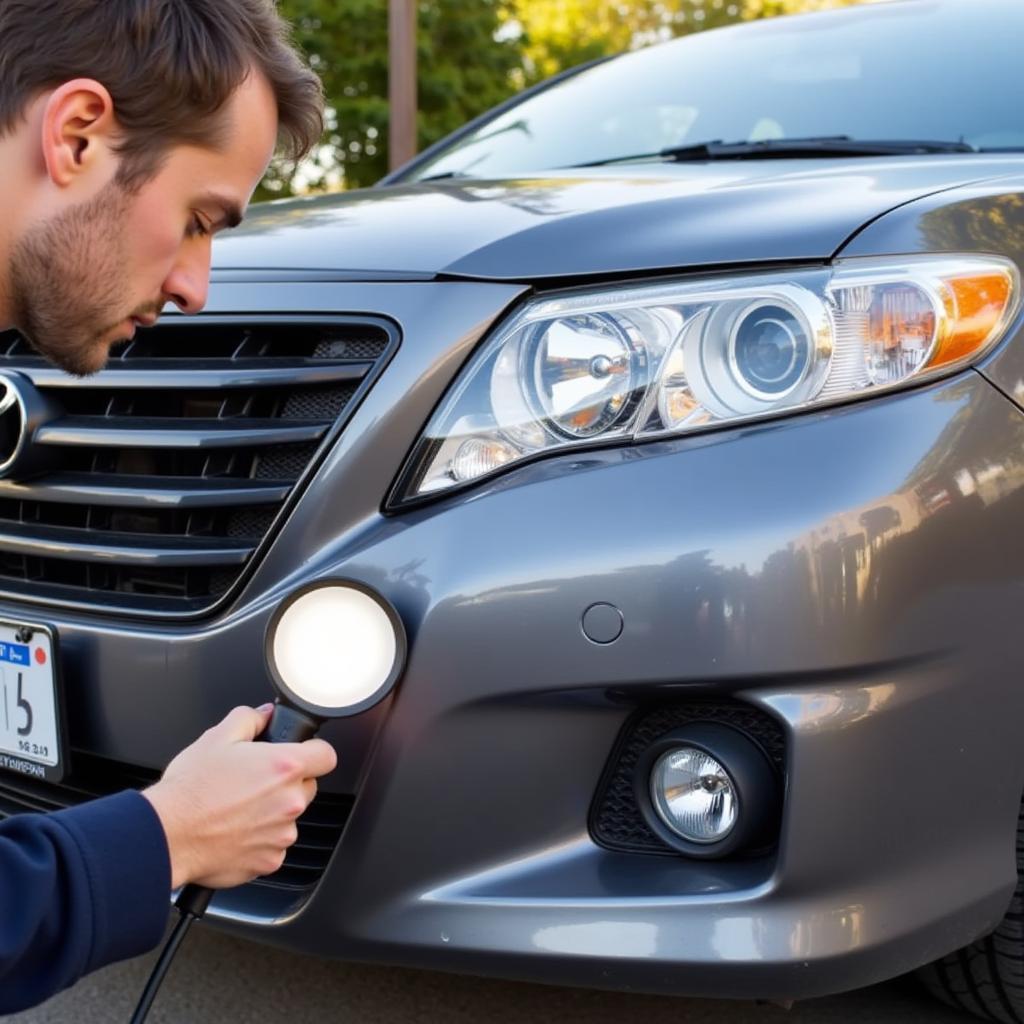 Assessing front bumper damage for DIY repair
DIY Bumper Repair: Step-by-Step Guide
Once you’ve assessed the damage, you can gather the necessary tools and materials. Commonly used items include sandpaper, body filler, primer, paint, clear coat, masking tape, plastic sheeting, and various hand tools. If the damage extends beyond the bumper, you might need to look at how to repair car body damage as well.
-
Clean the area: Thoroughly clean the damaged area with soap and water, removing any dirt, grease, or debris.
-
Prepare the surface: Depending on the severity of the damage, you may need to sand the affected area to create a smooth surface for the repair material.
-
Apply body filler (if necessary): For dents and cracks, apply body filler according to the manufacturer’s instructions. Allow it to dry and harden completely.
-
Sand and smooth: Once the filler is dry, sand the area smooth, blending it seamlessly with the surrounding bumper surface.
-
Prime and paint: Apply primer to the repaired area and allow it to dry. Then, apply several thin coats of paint, matching the color of your bumper.
-
Apply clear coat: For added protection and shine, apply a clear coat once the paint has dried.
Learning how to repair plastic car molding can also be valuable, as many bumpers are made of this material.
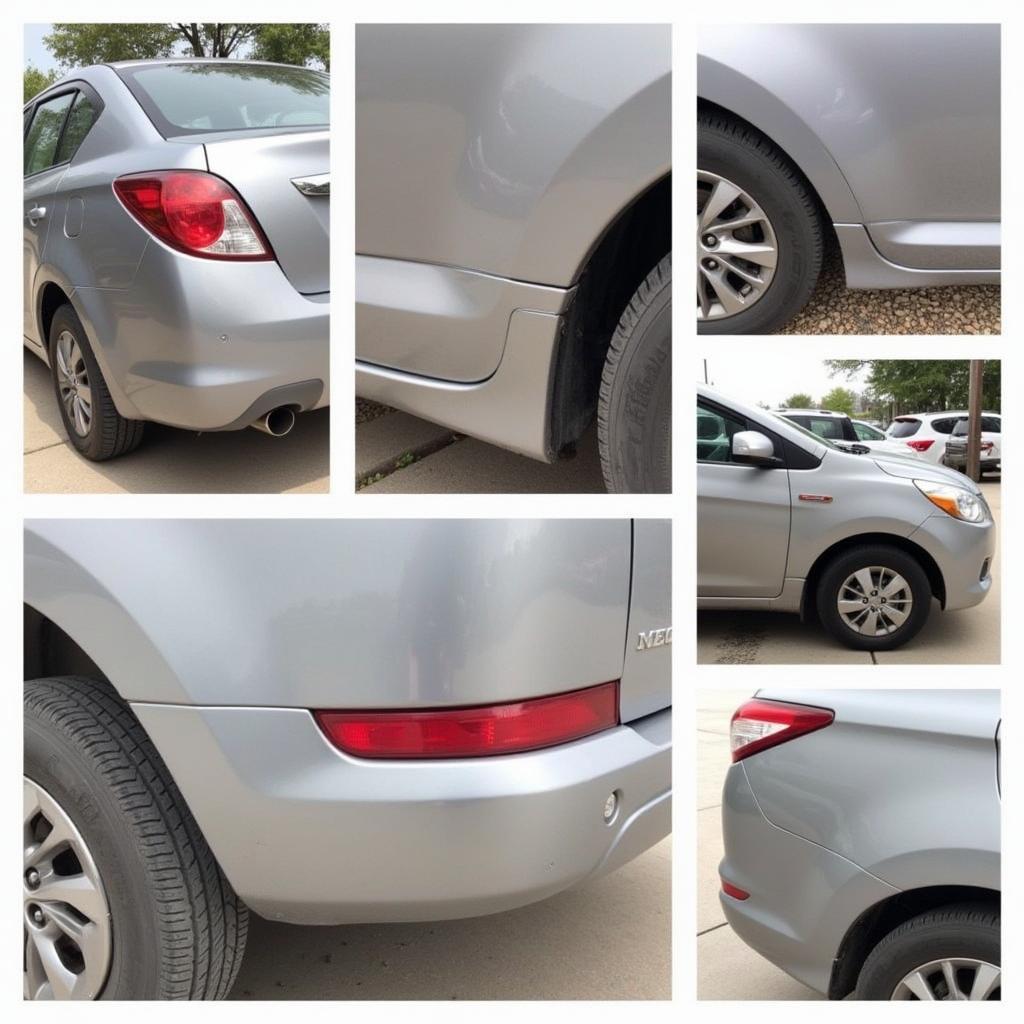 Step-by-step DIY car bumper repair process
When to Seek Professional Help
While many bumper repairs can be tackled as DIY projects, some situations warrant professional intervention. Extensive damage, such as large cracks or deep dents affecting the bumper’s structural integrity, should be addressed by a qualified auto body technician. If you are unsure about tackling the repair yourself, it is always better to err on the side of caution and seek professional assistance.
Conclusion: Restoring Your Bumper’s Appearance
Repairing a front bumper of car can be a satisfying experience, especially when you see the results of your efforts. By following the steps outlined in this guide, you can confidently address minor to moderate bumper damage, saving money and restoring your car’s appearance. However, remember to assess the damage thoroughly and seek professional help when needed.
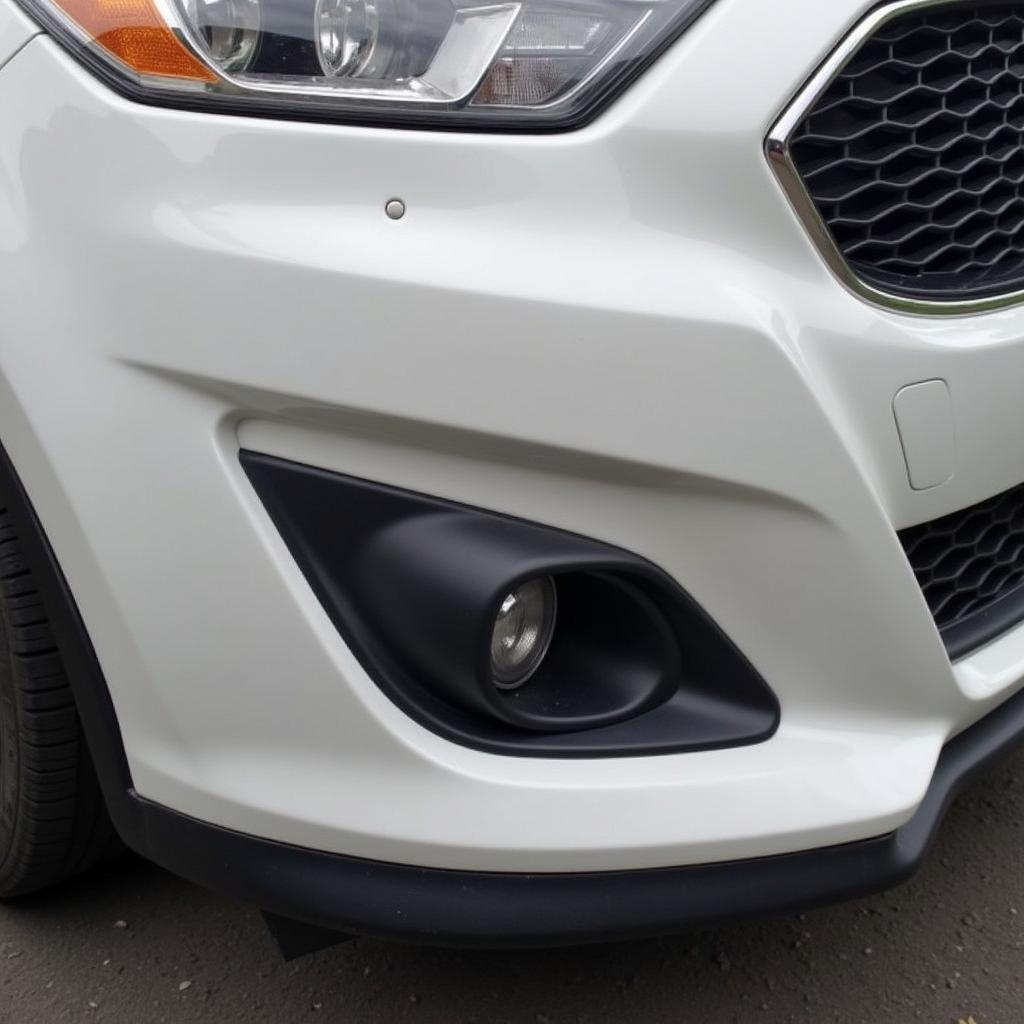 A newly repaired car front bumper
FAQs
-
Can I repair a cracked bumper myself? Small cracks can be repaired using DIY methods, but larger cracks may require professional repair or bumper replacement.
-
What type of paint should I use for bumper repair? Use automotive paint specifically designed for bumpers, ensuring it matches your car’s color code.
-
How long does it take for body filler to dry? Drying time varies depending on the product and ambient temperature, typically ranging from 30 minutes to a few hours.
-
Can I use a heat gun to repair a dent in my bumper? Yes, a heat gun can be effective for removing minor dents in plastic bumpers, but use caution to avoid overheating the plastic.
-
What is the best way to clean a bumper before repair? Use soap and water, and for tougher stains, consider using a dedicated automotive cleaning solution.
-
How can I protect my newly repaired bumper? Applying a clear coat and regularly waxing your car can help protect the bumper from future damage.
-
Where can I find matching paint for my car’s bumper? Automotive paint stores can typically mix paint based on your car’s color code.
Common Bumper Repair Scenarios
- Scenario 1: Minor scratches and scuffs can often be addressed with touch-up paint.
- Scenario 2: Small dents can sometimes be popped out using a heat gun or plunger.
- Scenario 3: Cracks require patching or replacement, depending on the severity.
Further Reading and Resources
For more information on car repairs, you might find these articles helpful: Which vehicle helps to move repair car and How to repair car body damage.
Contact Us for Assistance
If you need assistance with your car repair, don’t hesitate to contact us via WhatsApp: +1(641)206-8880, or Email: [email protected]. Our 24/7 customer service team is ready to help.

