Replacing a worn shaft seal is often seen as a complex task best left to professionals. However, with the right tools, patience, and a clear understanding of the process, you can tackle this repair at home and save some money. This guide will walk you through how to repair a car worn shaft seal at home, empowering you to maintain your vehicle effectively.
Understanding Car Shaft Seals
Before diving into the repair process, it’s crucial to understand what a shaft seal is and why it’s important. Shaft seals are essential components found in various parts of your car, including the engine, transmission, and differential. They prevent fluids like oil and grease from leaking out while keeping dirt and debris from entering these critical areas. A worn shaft seal can lead to fluid leaks, potentially damaging your car’s components and affecting performance.
Identifying a Worn Shaft Seal
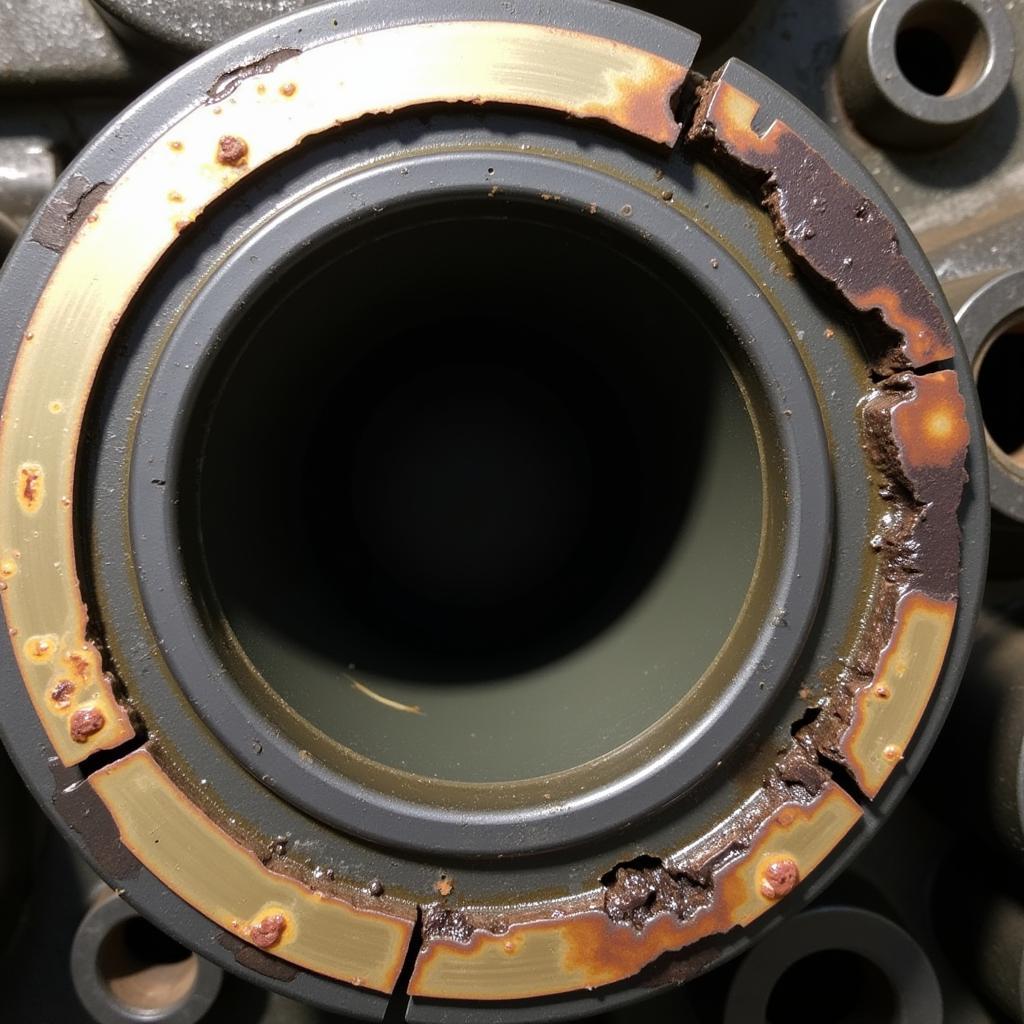
Recognizing the signs of a worn shaft seal is the first step towards addressing the issue. Look for telltale signs such as visible leaks around the seal area, low fluid levels, and stains on your driveway or garage floor. You might also notice a burning smell if the leaking fluid comes into contact with hot engine parts.
Common Causes of Shaft Seal Wear
Several factors can contribute to shaft seal wear. Age and general wear and tear are common culprits. Exposure to extreme temperatures, harsh chemicals, and contaminated fluids can also accelerate the deterioration of the seal. Additionally, improper installation can significantly shorten the lifespan of a shaft seal.
 Identifying a Worn Car Shaft Seal
Gathering the Necessary Tools and Materials
Before starting the repair, ensure you have all the required tools and materials. This will help you avoid interruptions and ensure a smoother process. You’ll typically need a set of wrenches, screwdrivers, pliers, a seal puller, a new shaft seal (make sure it’s the correct one for your car model), sealant, cleaning solvent, and a drain pan. Having a repair manual specific to your car model can be invaluable.
Step-by-Step Guide to Replacing a Worn Shaft Seal
Replacing a worn shaft seal involves a series of steps, and following them meticulously is crucial for a successful repair.
-
Prepare the Vehicle: Park your car on a level surface, engage the parking brake, and disconnect the negative battery cable. This is a standard safety precaution for any automotive repair.
-
Access the Shaft Seal: Depending on the location of the worn seal, you might need to remove other components to gain access. Consult your repair manual for specific instructions for your car model.
-
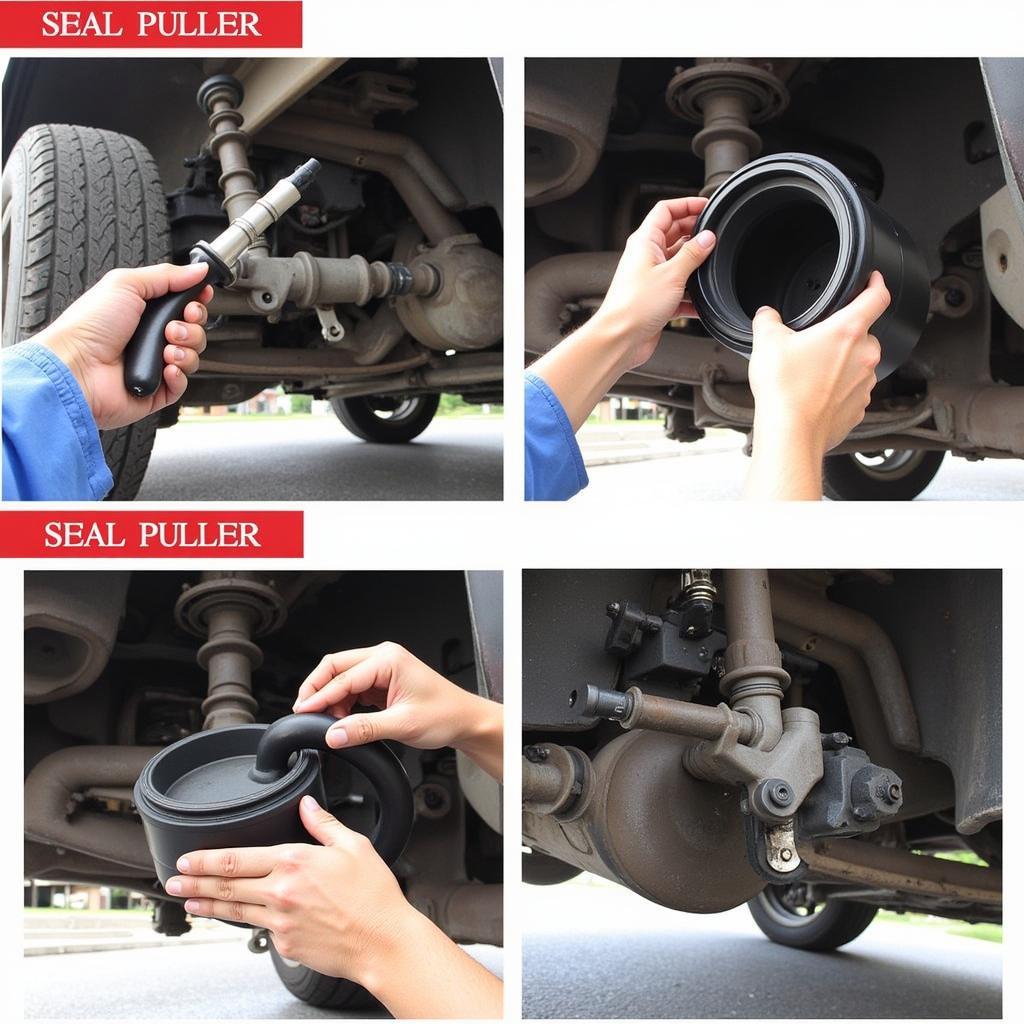
Remove the Old Seal: Carefully remove the old seal using a seal puller. Avoid damaging the surrounding surfaces. If a seal puller isn’t available, you can improvise with a screwdriver or a similar tool, but exercise extreme caution.
-
Clean the Area: Thoroughly clean the area around the seal housing using a cleaning solvent. Remove any dirt, debris, and remnants of the old sealant. This will ensure a proper seal with the new shaft seal.
 Removing an Old Car Shaft Seal with a Seal Puller
-
Install the New Seal: Apply a thin layer of sealant to the outer edge of the new shaft seal. Carefully press the new seal into the housing, ensuring it’s seated evenly and flush with the surrounding surface. Use a seal installer tool or a socket of the appropriate size to gently tap the seal into place.
-
Reassemble the Components: Once the new seal is in place, reassemble all the components you removed to access the seal. Tighten all bolts and connections to the manufacturer’s specifications.
-
Refill Fluids: Refill the necessary fluids to the correct levels, as specified in your owner’s manual.
-
Test for Leaks: Start the engine and check for any leaks around the new shaft seal. If you detect any leaks, double-check your work and ensure the seal is properly seated.
Expert Insights
“A common mistake is using the wrong type of sealant,” advises John Miller, a seasoned automotive technician with over 20 years of experience. “Make sure you use a sealant compatible with the fluids your car uses. Using the incorrect sealant can lead to leaks and premature seal failure.”
Conclusion
Repairing a car worn shaft seal at home is achievable with the right guidance and preparation. While it requires patience and attention to detail, it can be a rewarding experience, saving you money and giving you a deeper understanding of your vehicle. By following this guide and taking necessary precautions, you can successfully replace your worn shaft seal and keep your car running smoothly.
FAQ
- What are the common signs of a worn shaft seal?
- What tools do I need to replace a shaft seal?
- What type of sealant should I use?
- How can I prevent premature shaft seal wear?
- Where can I find the correct shaft seal for my car model?
- Is it always necessary to replace a leaking shaft seal?
- What should I do if the leak persists after replacing the seal?
Need further assistance? Contact us via WhatsApp: +1(641)206-8880, Email: [email protected]. We have a 24/7 customer support team.

Leave a Reply