A sagging car roof lining can be an annoying distraction and make your car’s interior look worn out. Luckily, how to repair a sagging roof lining in your car is often a manageable DIY project. This article provides a comprehensive guide on how to tackle this common car interior problem, saving you a trip to the mechanic and keeping your car looking its best.
Understanding Why Your Car Roof Lining Sags
Before diving into the repair process, it’s important to understand why your car’s roof lining, also known as the headliner, sags in the first place. The most common culprit is failing adhesive. Over time, heat, moisture, and age can weaken the glue that holds the fabric to the backing board. This can cause the fabric to detach and droop. In some cases, the foam backing itself can deteriorate, adding to the problem.
Gathering Your Tools and Materials
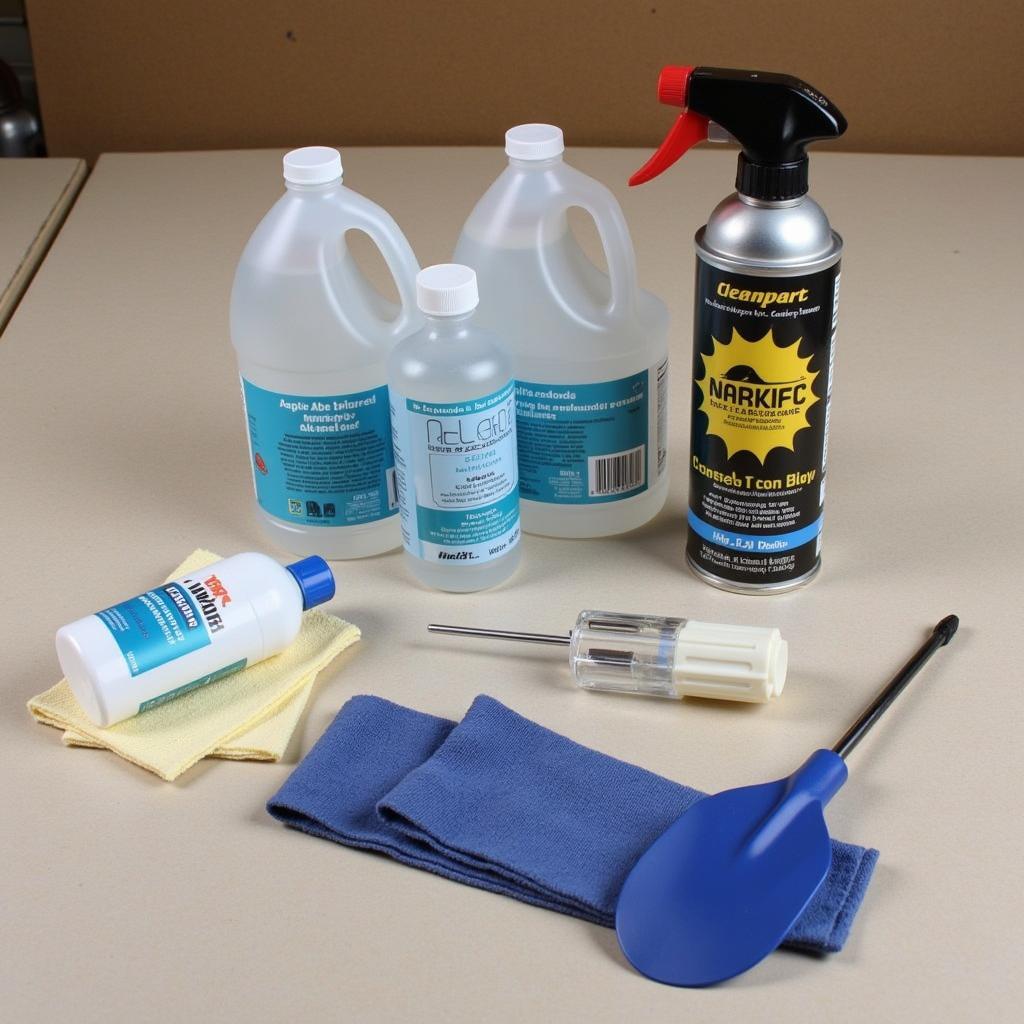
Having the right tools and materials at hand makes the repair process much smoother. Here’s what you’ll need:
- Adhesive: High-temperature spray adhesive designed for automotive headliners is recommended.
- Fabric Upholstery Cleaner: For cleaning the headliner fabric.
- Plastic Scrapers or Putty Knives: To remove old adhesive.
- Screwdriver Set: To remove any trim or fasteners holding the headliner in place.
- Microfiber Cloths or Soft-Bristled Brush: For cleaning and applying adhesive.
- Gloves: To protect your hands.
- Safety Glasses: To protect your eyes.
- Masking Tape and Drop Cloths: To protect your car’s interior.
 Car roof lining repair tools laid out on a workbench
Preparing the Headliner for Repair
Start by preparing the area. Park your car in a well-ventilated space. Remove any items that might obstruct your access to the headliner, such as sun visors, interior lights, or grab handles. Use the screwdriver set to carefully detach any trim pieces securing the headliner. If the sagging is extensive, you may need to partially or fully remove the headliner board. Next, use the plastic scraper to remove any loose fabric and old adhesive from the headliner backing board. Clean the headliner fabric with the upholstery cleaner and let it dry completely before proceeding.
Applying the Adhesive and Reattaching the Fabric
Once the headliner and fabric are clean and dry, it’s time to apply the adhesive. Follow the manufacturer’s instructions on the adhesive can carefully. Typically, you’ll need to apply a thin, even coat to both the headliner board and the back of the fabric. Allow the adhesive to become tacky before carefully reattaching the fabric to the board, smoothing out any wrinkles or air bubbles as you go. Use a microfiber cloth or roller to ensure a smooth, even bond.
Reinstalling the Headliner and Trim
After the adhesive has fully cured (check the manufacturer’s instructions for drying time), carefully reinstall the headliner board and any trim pieces you removed earlier. Make sure everything is securely fastened and aligned correctly.
Tips for a Successful Repair
- Work in a well-ventilated area to avoid inhaling adhesive fumes.
- Use high-quality adhesive specifically designed for automotive headliners.
- Take your time and be patient, especially when reattaching the fabric.
- If the sagging is severe or the headliner board is damaged, consider replacing the entire headliner.
“A sagging headliner doesn’t have to be a permanent eyesore,” says John Smith, Lead Automotive Technician at Expert Auto Solutions. “With a little patience and the right approach, you can restore your car’s interior to its former glory.”
Preventing Future Sagging
To prevent future sagging, avoid exposing your car’s interior to excessive heat and moisture. Park in shaded areas whenever possible and address any leaks promptly. Regularly cleaning your car’s interior can also help prevent the buildup of dirt and grime that can contribute to adhesive failure.
Conclusion
Repairing a sagging roof lining in your car is a straightforward process that can significantly improve the appearance of your vehicle’s interior. By following these steps and using the right materials, you can achieve professional-looking results and avoid the cost of professional repair. Remember, addressing the issue promptly will prevent further damage and keep your car looking its best. So, tackle that sagging headliner today and enjoy a more comfortable and aesthetically pleasing driving experience. How To Repair Sagging Roof Lining In Car is now within your reach.
FAQ
- What causes car roof lining to sag? Heat, moisture, and age weaken the adhesive.
- Can I repair a sagging headliner myself? Yes, it’s a manageable DIY project.
- What type of adhesive should I use? High-temperature spray adhesive designed for automotive headliners.
- How long does it take for the adhesive to dry? Check the manufacturer’s instructions.
- How can I prevent future sagging? Avoid excessive heat and moisture, address leaks promptly, and clean your car’s interior regularly.
“Regular maintenance can prevent many common car interior problems, including headliner sagging,” adds Maria Garcia, Senior Automotive Detailer at Pristine Auto Care. “A little preventative care goes a long way.”
“If the damage is beyond a simple repair, replacement might be the best option,” adds John Smith. “Consulting a professional can help determine the best course of action.”
Need help? Contact us via WhatsApp: +1(641)206-8880, or Email: [email protected]. Our 24/7 customer service team is ready to assist you.

Leave a Reply