Blending car paint after a spot repair is crucial for a seamless, professional finish. Whether you’re dealing with a minor scratch, rock chip, or a small area of damage, knowing how to blend the new paint into the existing finish will save you money and deliver impressive results. This guide will walk you through the process of blending car paint, from preparing the surface to achieving a perfect color match.
Repairing car paint scratches and achieving that flawless blend can seem daunting, but with the right knowledge and a little patience, anyone can tackle this task. Similar to fixing a dent in your car with Bondo, blending car paint requires precision and attention to detail. Understanding the process can save you significant money compared to professional repairs. Want to know how much car scratch repair cost? It’s often more than you’d expect, making DIY a compelling option. Check out our guide on car scratch repair costs for a better understanding.
Understanding the Importance of Blending
Why is blending so important? Simply put, it ensures the repaired area seamlessly integrates with the surrounding paintwork. A poorly blended repair will stand out like a sore thumb, negating the entire purpose of the touch-up. Factors like sunlight, age, and environmental conditions affect your car’s paint, making a perfect color match challenging. Blending softens the transition between the new and old paint, minimizing any noticeable difference.
Want to repair car paint effectively? It starts with proper blending. A smooth transition between the repaired area and the original paintwork is key to a professional-looking finish.
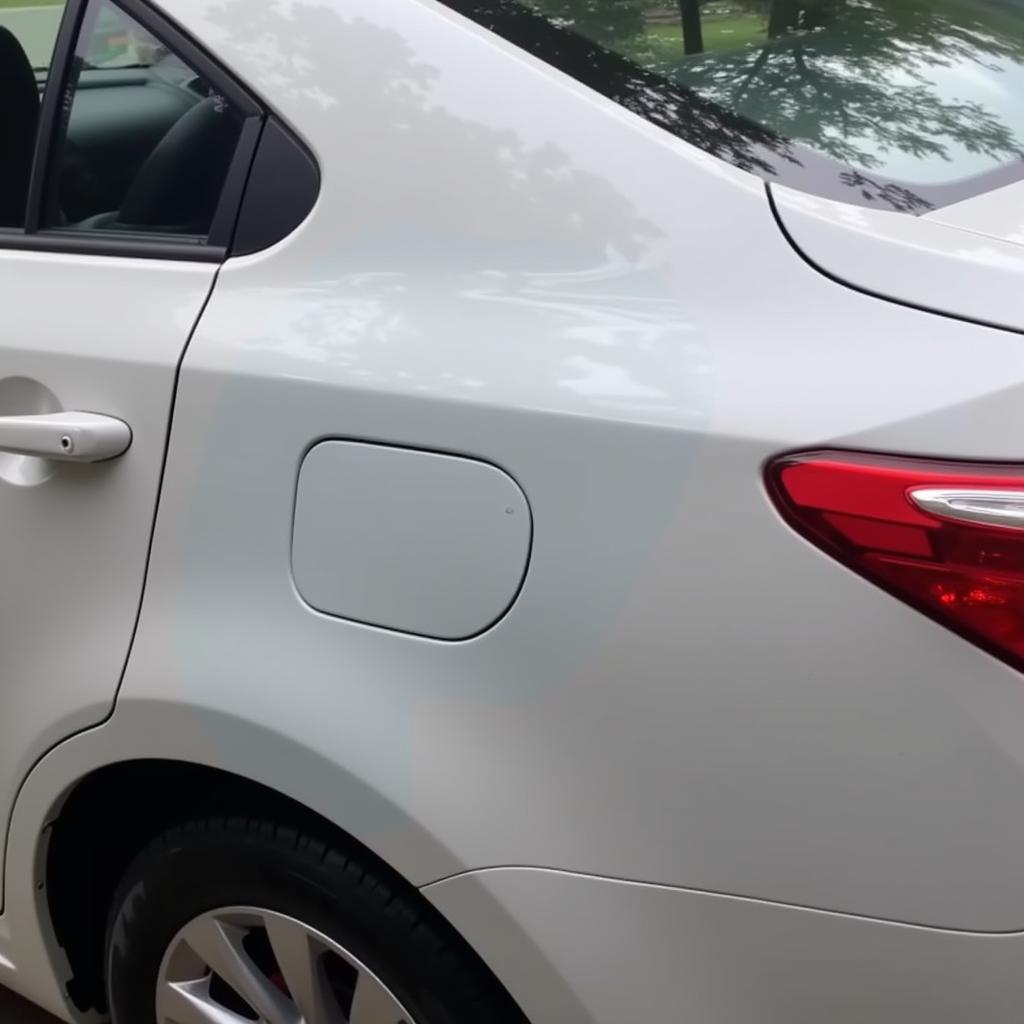
 Blending car paint for a seamless finish after spot repair
Preparing the Surface for Blending
Before you begin blending, proper surface preparation is essential. Start by thoroughly cleaning the area to be repaired with soap and water, followed by a wax and grease remover. Any remaining dirt or contaminants can interfere with the paint adhesion and blending process. Next, lightly sand the area with fine-grit sandpaper (e.g., 2000-grit) to create a smooth surface for the new paint to adhere to. This also helps feather the edges of the existing paint, creating a smoother transition zone.
After cleaning and sanding, mask off the surrounding areas you don’t want to be oversprayed. This protects the existing finish and allows you to focus solely on the repair area.
Applying the Base Coat and Clear Coat
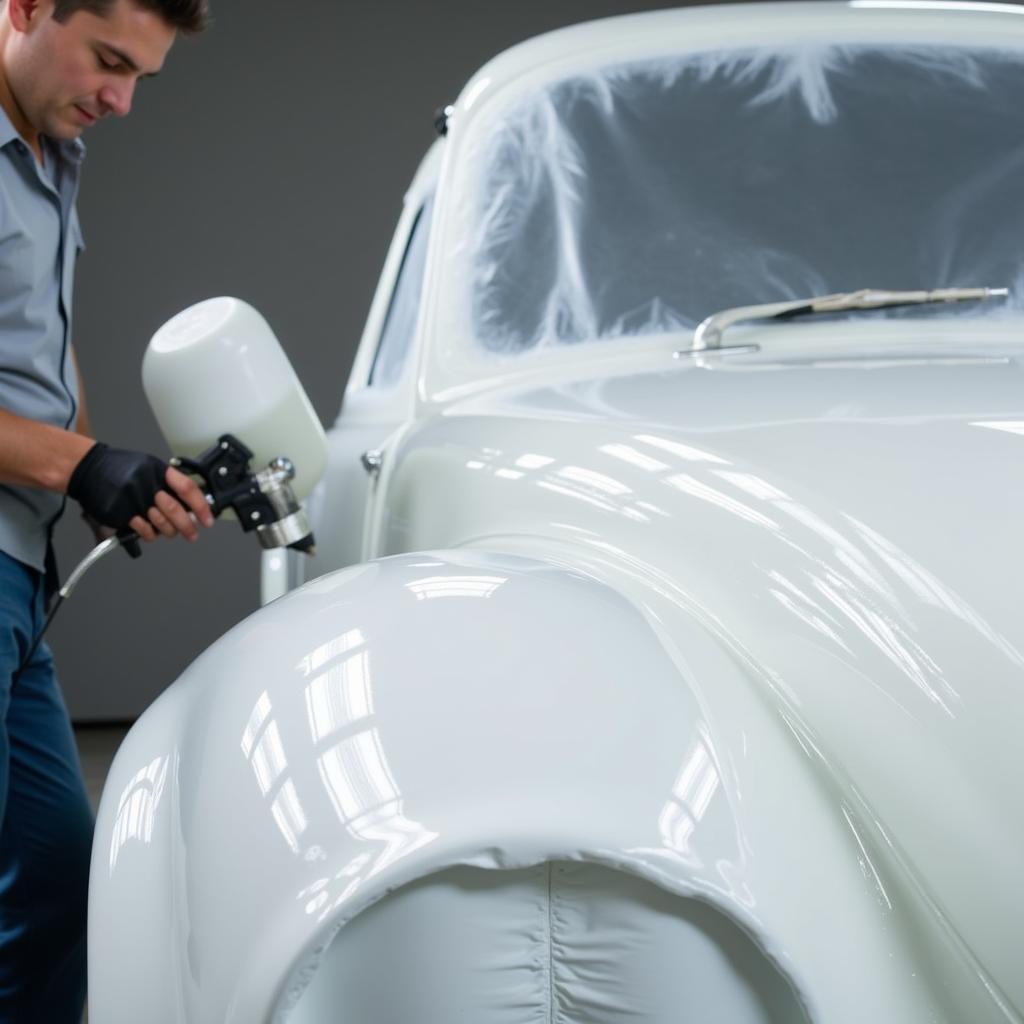
Once the surface is prepared, apply thin, even coats of the base coat, allowing each coat to dry before applying the next. Avoid applying thick coats, as this can lead to runs and uneven coverage. Once the base coat is dry, apply the clear coat in the same manner, using thin, even coats. The clear coat protects the base coat and provides the glossy finish.
 Applying thin coats of base and clear coat during car paint repair.
Blending Techniques
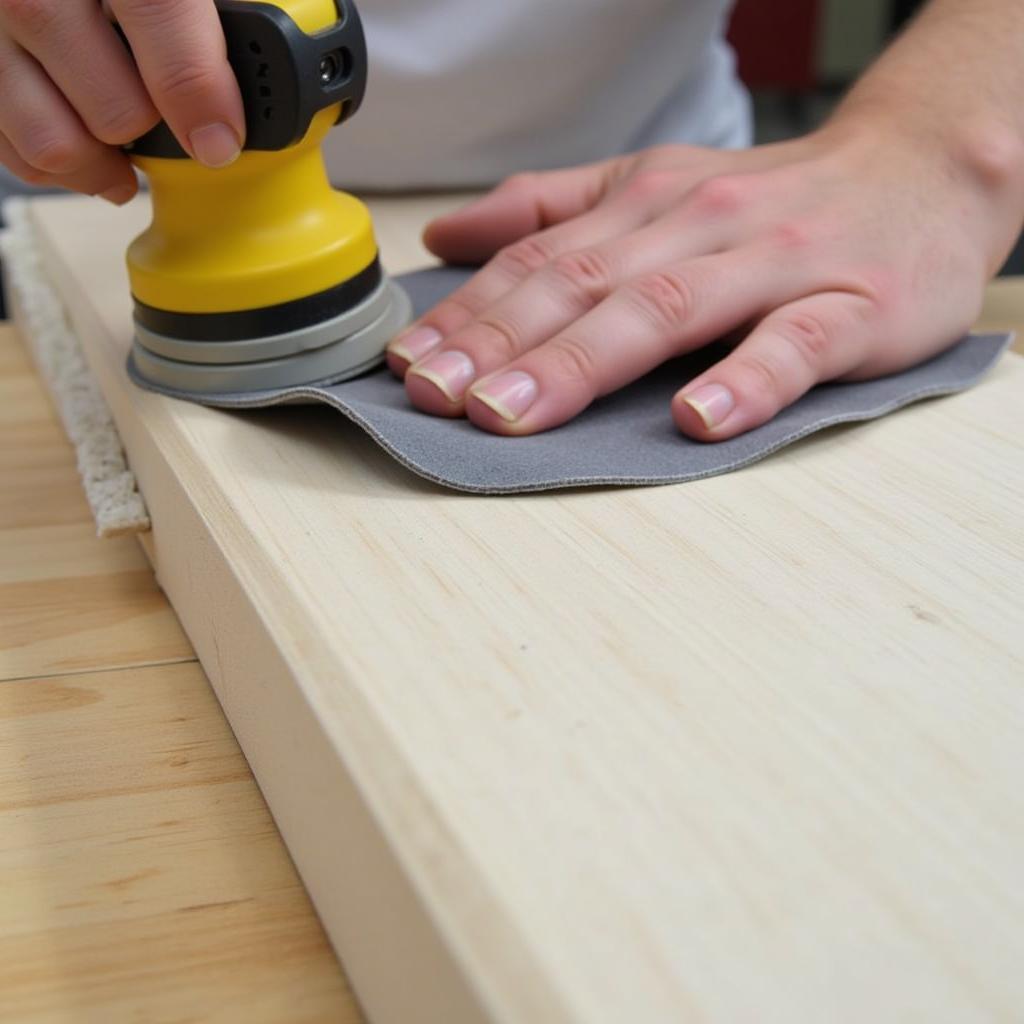
The key to successful blending lies in the technique. There are several blending techniques, but the most common is the “feathering” technique. This involves lightly sanding the edges of the clear coat with ultra-fine grit sandpaper (e.g., 3000-grit) to create a gradual transition between the repaired area and the surrounding paint. Another method is using a blending solvent, which helps soften the edges of the clear coat and allows it to blend more seamlessly.
Blending requires patience and a light touch. Avoid excessive sanding or solvent use, as this can damage the existing finish. Thinking about how to repair a dent in your car with Bondo? This process also requires meticulous blending for a seamless finish. You can learn more about Bondo repair in our comprehensive guide.
 Demonstrating the feathering technique for blending car paint.
Final Polishing and Finishing
After blending, polish the repaired area with a polishing compound to remove any remaining sanding marks and restore the gloss. This will create a uniform shine and ensure a professional-looking result. Wondering how much is car dent repair? The cost can vary greatly, but often a small touch-up and blend can save you a significant amount compared to professional dent repair. Check out our guide on car dent repair costs for a detailed breakdown.
Conclusion
Blending car paint for spot repairs is a skill that requires patience and practice. However, with the right techniques and materials, you can achieve professional-looking results and save money on costly repairs. By following this guide, you’ll be well-equipped to tackle those minor paint imperfections and keep your car looking its best. Remember, proper surface preparation, thin coats, and careful blending are the keys to a seamless finish.
FAQ
-
What grit sandpaper should I use for blending car paint?
Ultra-fine grit sandpaper, such as 3000-grit, is ideal for blending. -
Can I blend car paint without a blending solvent?
Yes, you can use the feathering technique with fine-grit sandpaper. -
How long should I wait between coats of paint?
Follow the manufacturer’s instructions on the paint can for drying times. -
What if I can’t find a perfect color match for my car’s paint?
Consult a professional paint supplier for assistance with color matching. -
How can I learn more about general car paint repair?
We have a guide on how to repair car paint that can provide further information.
Other Helpful Resources:
- For information on GTA Vice City car repairs, see our article: how to repair a car in gta vice city.
Need further assistance? Contact us via WhatsApp: +1(641)206-8880 or Email: [email protected]. Our customer service team is available 24/7.


