A malfunctioning car horn can be a safety hazard. Knowing how to repair a car horn yourself can save you time and money. This guide will walk you through the common causes of horn failure and provide step-by-step instructions on how to diagnose and fix the problem.
Troubleshooting a car horn involves checking several components. First, you’ll want to inspect the horn itself. Then, the wiring, the horn relay, and the steering wheel clock spring are all potential culprits. Let’s dive into the details of how to repair car horn issues.
Diagnosing the Problem: Where to Start When Your Car Horn Doesn’t Work
Before you start taking things apart, the first step in how to repair a car horn is to identify the source of the problem. This involves a systematic approach, starting with the simplest checks and moving to more complex ones.
-
Check the Fuse: A blown fuse is a common cause of a non-functioning horn. Locate the horn fuse in your car’s fuse box (usually under the dashboard or in the engine compartment) and check if it’s blown. Replace it if necessary. This simple fix could be all you need.
-
Test the Horn Directly: If the fuse is good, the next step is to test the horn itself. Disconnect the horn’s wiring connector and apply 12 volts directly from your car battery to the horn terminals. If the horn sounds, the problem lies in the wiring or the horn switch. If it doesn’t sound, the horn itself is faulty and needs replacement. If you are unsure about working with electrical components, consider seeking professional help such as fixing a broken reverse car horn, found on how to repair reverse car horn.
-
Inspect the Wiring: Carefully inspect the wiring leading to the horn for any damage, corrosion, or loose connections. Repair or replace any damaged wires. A multimeter can be helpful in tracing the wiring and checking for continuity.
-
Check the Horn Relay: The horn relay is a small electrical switch that controls power to the horn. Locate the horn relay (usually in the fuse box) and swap it with a known good relay. If the horn works after swapping the relay, the original relay was faulty.
-
Inspect the Steering Wheel Clock Spring: The clock spring allows the electrical connections in the steering wheel to rotate with the wheel while maintaining a continuous connection. A faulty clock spring can prevent the horn signal from reaching the horn. This is a more complex repair and might require professional assistance. For those mechanically inclined, you may be interested in learning how to repair the gear box in car.
How to Replace a Car Horn
If you’ve determined that the horn itself is faulty, replacing it is a relatively straightforward process.
-
Disconnect the Battery: Disconnect the negative terminal of your car battery to prevent any electrical shocks.
-
Locate the Horn: The horn is usually located behind the front grille or bumper. You might need to remove some components to access it.
-
Disconnect the Wiring: Disconnect the wiring connector from the horn.
-
Remove the Horn: Unscrew the bolts or nuts holding the horn in place and remove it.
-
Install the New Horn: Install the new horn in the reverse order of removal.
-
Reconnect the Battery: Reconnect the negative terminal of the battery.
-
Test the Horn: Test the new horn to ensure it’s working correctly. You might even compare it to other horn repair processes, such as how to repair car horn.
Common Car Horn Problems and Solutions
Several issues can affect your car horn. Here’s a breakdown of common problems and their solutions:
-
Weak Horn Sound: This can be due to a low battery voltage, a faulty horn, or corroded connections.
-
Intermittent Horn: This is often caused by a loose connection, a faulty relay, or a failing clock spring.
-
No Horn Sound at All: This could be due to a blown fuse, a faulty horn, a broken wire, or a malfunctioning relay.
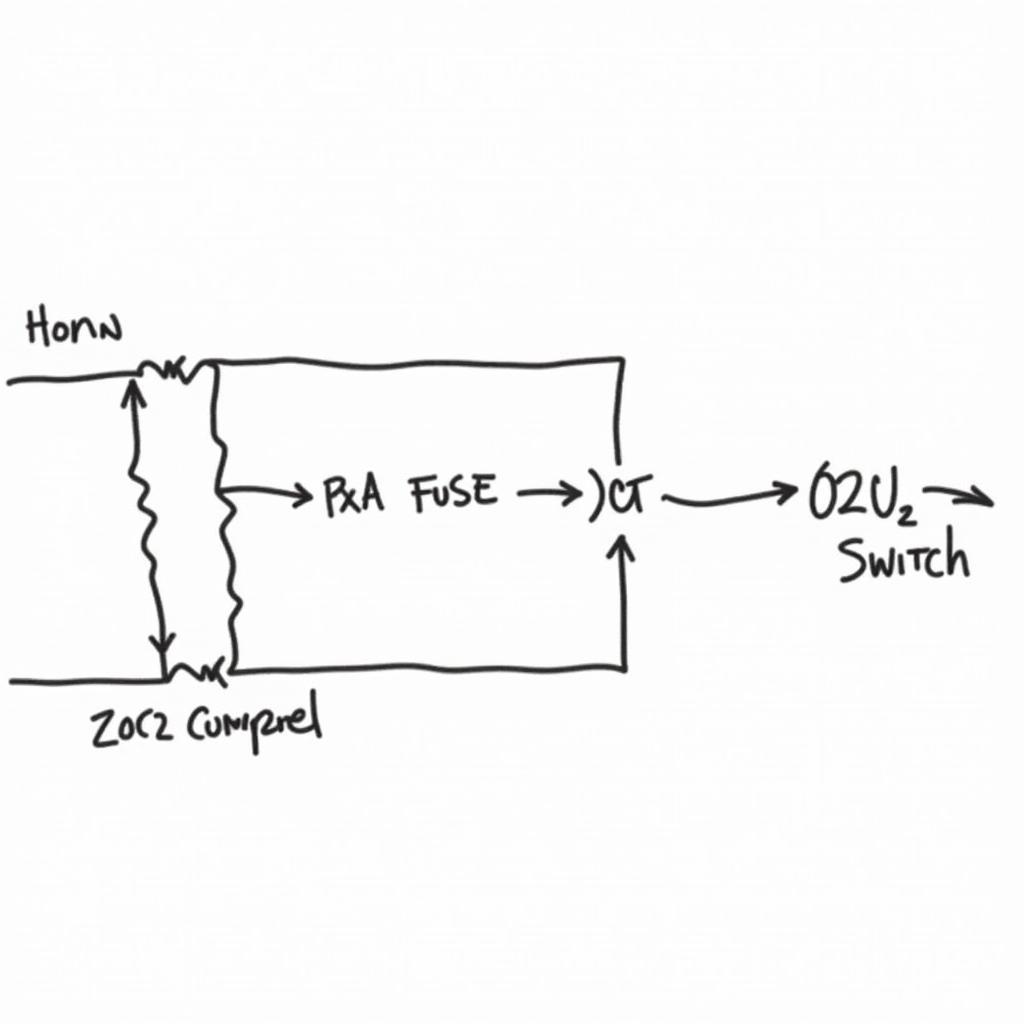
 Car Horn Wiring Diagram
“A properly functioning horn is crucial for road safety,” says automotive expert John Smith, ASE Certified Master Technician. “Regular maintenance and prompt repairs can prevent potential hazards.” He further advises, “Don’t ignore a malfunctioning horn. Addressing the issue quickly can save you from dangerous situations.” This is especially true for remote control cars which require precision. You may find this article on how to repair rc remote control car helpful.
Conclusion
Knowing how to repair a car horn is a valuable skill for any car owner. By following the steps outlined in this guide, you can diagnose and fix common horn problems, saving you money and ensuring your safety on the road. Don’t delay addressing a faulty horn. A working horn is essential for communicating with other drivers and avoiding accidents. Consider also learning how to repair stunt rc car for other types of vehicles.
FAQ
-
How often should I check my car horn? It’s recommended to test your horn every few months to ensure it’s working correctly.
-
How much does it cost to replace a car horn? The cost of a new horn varies depending on the make and model of your car, but it’s usually relatively inexpensive.
-
Can I replace a car horn myself? Yes, replacing a car horn is a relatively simple DIY task for most car owners.
-
What tools do I need to replace a car horn? You’ll typically need a wrench or socket set, a screwdriver, and possibly some pliers.
-
What should I do if I’ve tried all the troubleshooting steps and my horn still doesn’t work? If you’ve exhausted all the DIY options, it’s best to take your car to a qualified mechanic for further diagnosis and repair.
If you need assistance, please contact us via WhatsApp: +1(641)206-8880 or Email: [email protected]. Our customer support team is available 24/7.


