Small stone chips on your car are an unsightly nuisance that, if left untreated, can lead to rust and more extensive damage. Knowing How To Repair Small Stone Chips On Car paint is a valuable skill that can save you money and keep your car looking its best. This guide provides a step-by-step approach to fixing those pesky chips yourself.
Repairing minor stone chips is often a straightforward process that can be done at home with a few readily available tools and materials. It’s significantly cheaper than a professional repair and can prevent further damage. Do you want to learn how to repair car scratches yourself? Check out our guide.
Assessing the Damage: Is it a Chip or a Scratch?
Before you begin, it’s essential to determine the extent of the damage. A stone chip is typically a small, concave area where the paint has been chipped away, exposing the bare metal underneath. While a scratch is a linear mark on the paint surface. Identifying the type of damage will determine the appropriate repair method. For deeper chips that have penetrated through multiple layers of paint, professional repair might be necessary.
What You’ll Need
Gather the following supplies before you begin:
- Touch-up paint (matched to your car’s color code)
- Rubbing compound
- Polishing compound
- Wax
- Applicator pads
- Microfiber cloths
- Masking tape
- Fine-grit sandpaper (2000-grit)
- Isopropyl alcohol
Step-by-Step Guide to Repairing Stone Chips
-
Clean the Area: Thoroughly clean the chipped area with soap and water, followed by isopropyl alcohol, to remove any dirt, grease, or wax. This ensures proper adhesion of the touch-up paint.
-
Mask the Surrounding Area: Apply masking tape around the chip to protect the surrounding paint from accidental scratches during the repair process.
-
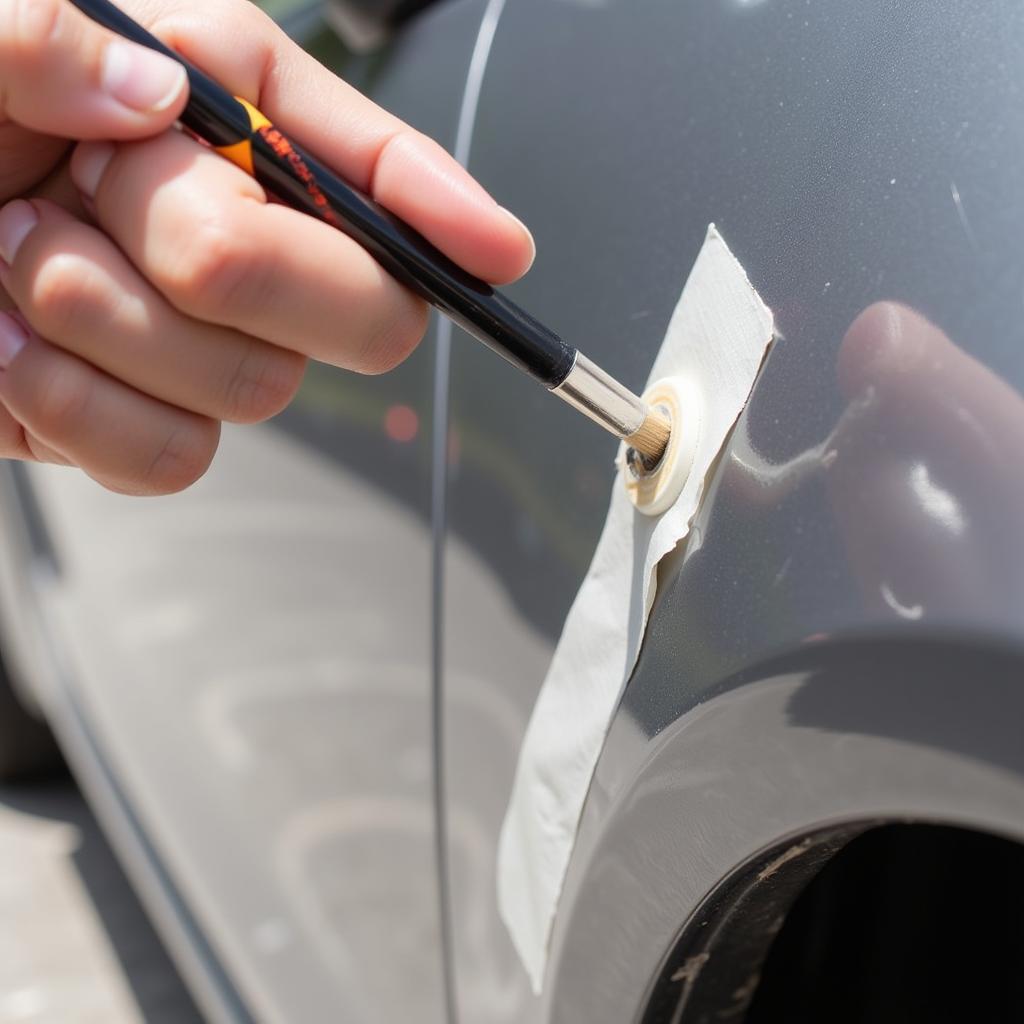
Apply Touch-Up Paint: Using the applicator brush provided with the touch-up paint, carefully apply a small amount of paint directly to the chip. Less is more here; you want to fill the chip without overflowing onto the surrounding paint. If the chip is deep, you may need to apply multiple thin coats, allowing each coat to dry completely before applying the next.
 Applying touch-up paint to a small stone chip on a car’s paint.
-
Let the Paint Dry: Allow the touch-up paint to dry completely. This typically takes a few hours, but it’s best to consult the instructions on your specific touch-up paint.
-
Sand the Area (If Necessary): If the touch-up paint has built up slightly above the surrounding paint surface, carefully wet-sand the area with 2000-grit sandpaper. This will level the paint and create a smooth surface. Use light pressure and keep the sandpaper wet to avoid scratching the surrounding paint.
-
Polish and Wax: After sanding, use rubbing compound followed by polishing compound to restore the shine and blend the repaired area with the surrounding paint. Finish by applying a layer of wax to protect the repair and give your car a polished look. For more information on repairing paint chips, check our comprehensive guide on how to repair paint chips on your car.
“Applying touch-up paint effectively is a skill that comes with practice,” says renowned auto detailer, Marcus Reynolds. “Start with a small amount and build up layers as needed. Patience is key to achieving a seamless repair.”
Preventing Stone Chips
While some stone chips are unavoidable, there are steps you can take to minimize their occurrence:
-
Maintain a Safe Following Distance: Keeping a safe distance from the vehicle in front of you reduces the risk of rocks and debris being kicked up and hitting your car.
-
Avoid Driving on Gravel Roads: When possible, avoid driving on unpaved roads as these are more likely to cause stone chips.
-
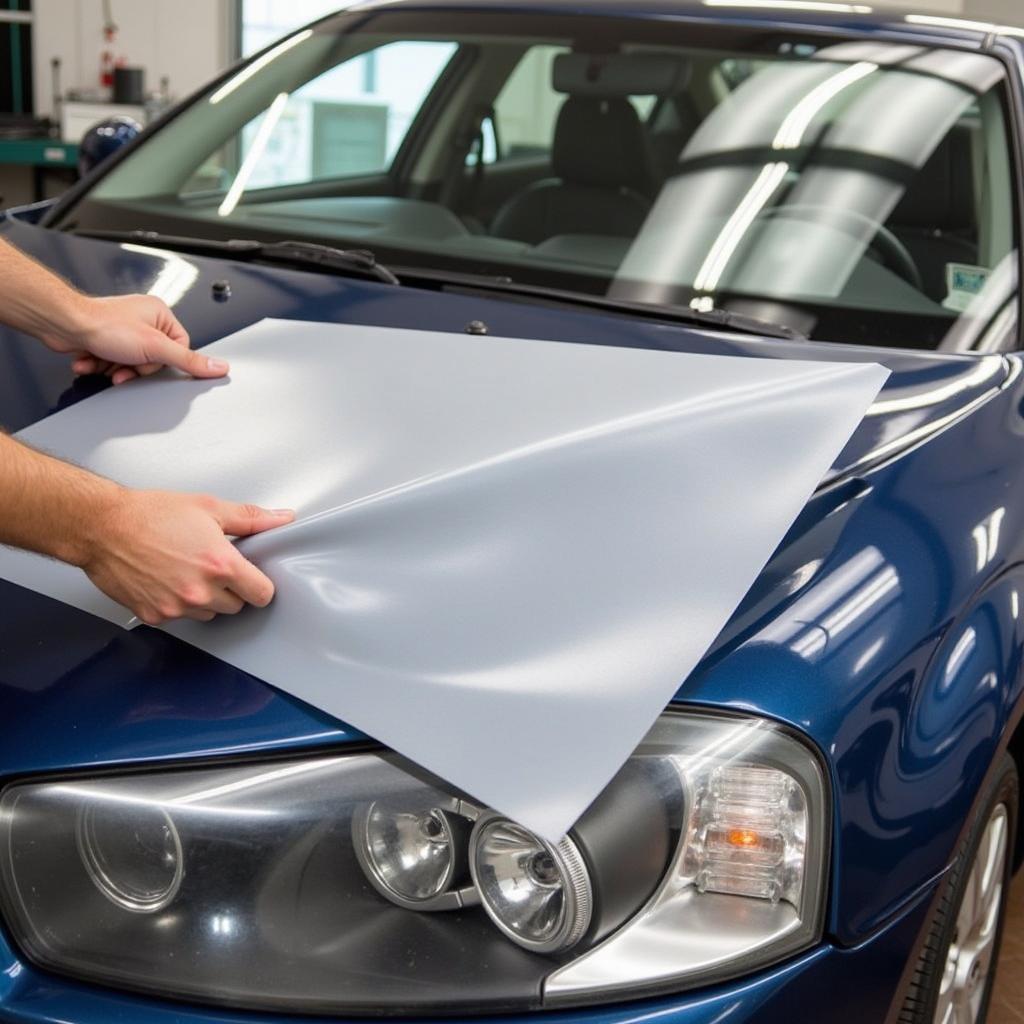
Apply Paint Protection Film (PPF): Consider applying PPF to vulnerable areas of your car, such as the hood, bumper, and fenders. This clear film acts as a barrier against stone chips and other minor impacts.
“Protecting your car’s paint with a film is like adding a screen protector to your phone,” explains automotive paint specialist, Sarah Chen. “It’s an investment that can save you from costly repairs down the road.” Interested in repairing hail damage? Learn how hail damaged cars can be repaired.
 Applying paint protection film to a car hood.
Conclusion
Repairing small stone chips on your car is a relatively simple DIY project that can save you money and maintain your car’s appearance. By following the steps outlined above and taking preventative measures, you can keep your car looking its best for years to come. How to repair small stone chips on car involves patience and attention to detail, but the results are well worth the effort.
FAQ
- Can I use any type of touch-up paint? (No, you should always use touch-up paint that is specifically matched to your car’s color code.)
- How long does the repair take? (The entire process, including drying time, can take several hours.)
- Do I need to sand the area after applying touch-up paint? (Only if the paint has built up above the surface.)
- What can I do to prevent stone chips? (Maintain a safe following distance, avoid gravel roads, and consider applying PPF.)
- Can I repair large stone chips myself? (Large or deep chips may require professional repair.)
- What if the chip has gone through to the metal? (You should address this quickly to prevent rust. Priming the exposed metal before applying touch-up paint is recommended.)
- Can I use nail polish as touch-up paint? (No, nail polish is not formulated for automotive use and will not provide adequate protection.)
For further assistance, contact us via WhatsApp: +1(641)206-8880, Email: [email protected]. We have a 24/7 customer support team.

Leave a Reply